Toots Totes
  • Home
  • About
  • Gallery
  • Store
  • Bespoke Contact
  • Bag shapes
  • Fabrics
  • Blog
  • Happy Clients
  • Vesta Instruction Manual

What? Feb already?

31/1/2022

0 Comments

 
January is often a bleak and non-productive month for makers, after the Christmas rush!
I'm happy to say my lovely clients have kept me quite busy, providing ready made and bespoke items. I've also had a sale on Etsy and MyFlair, which always drums up some interest!

Picture
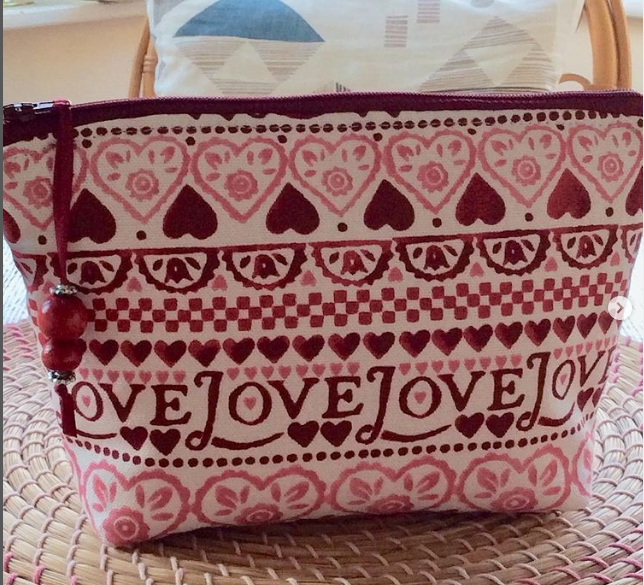
Popular pink sampler fabric purse.
Picture
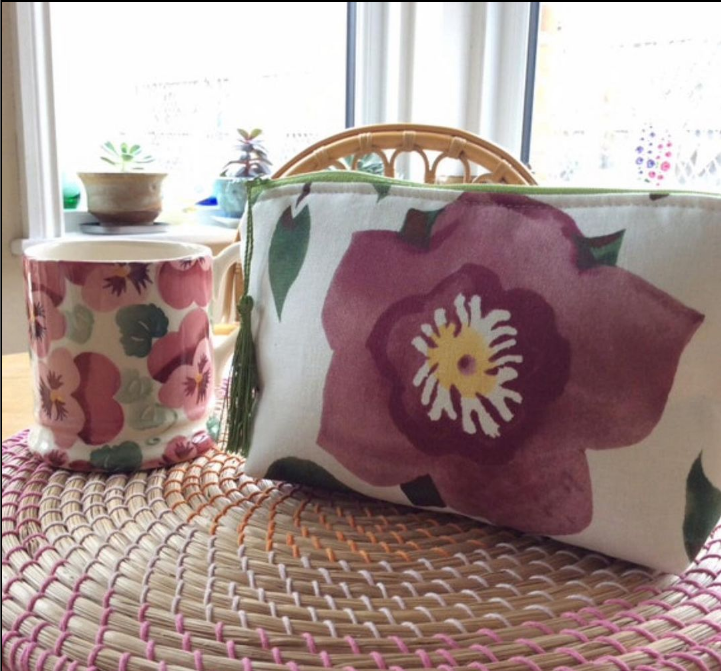
Emma Bridgewater Hellebore fabric purse.
The Year Ahead Now I'm looking ahead to the coming year, hoping to attend a few more fairs. I have just applied to the Braintree Textile Fair, hoping I may secure a pitch there. It's a great event and back in full force after a couple of years when events were difficult to arrange due to the unmentionable! Click on the link HERE to find out more about this year's event.
Picture
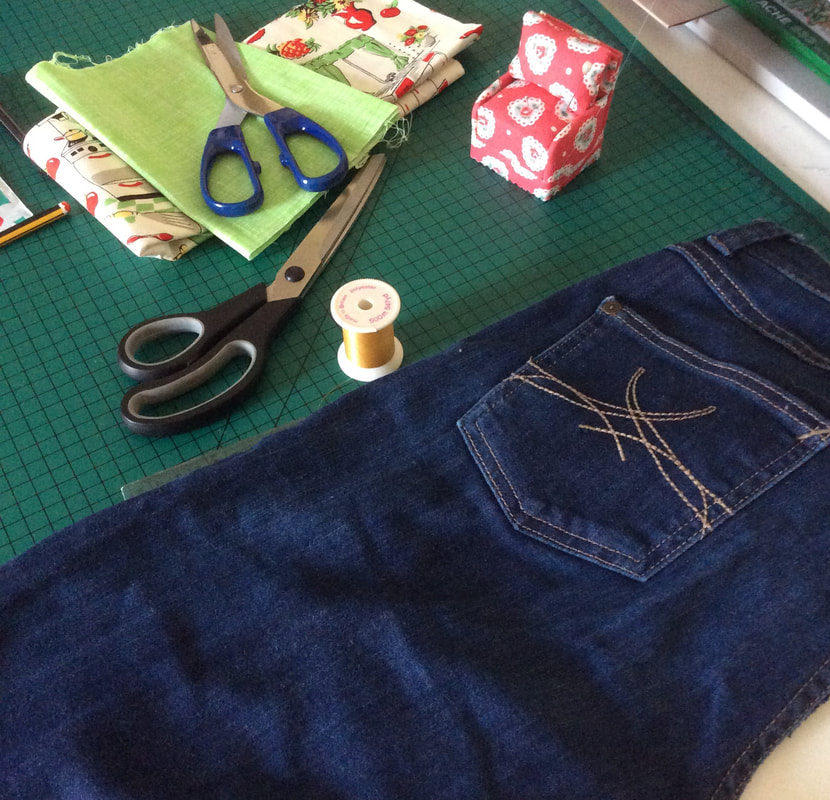
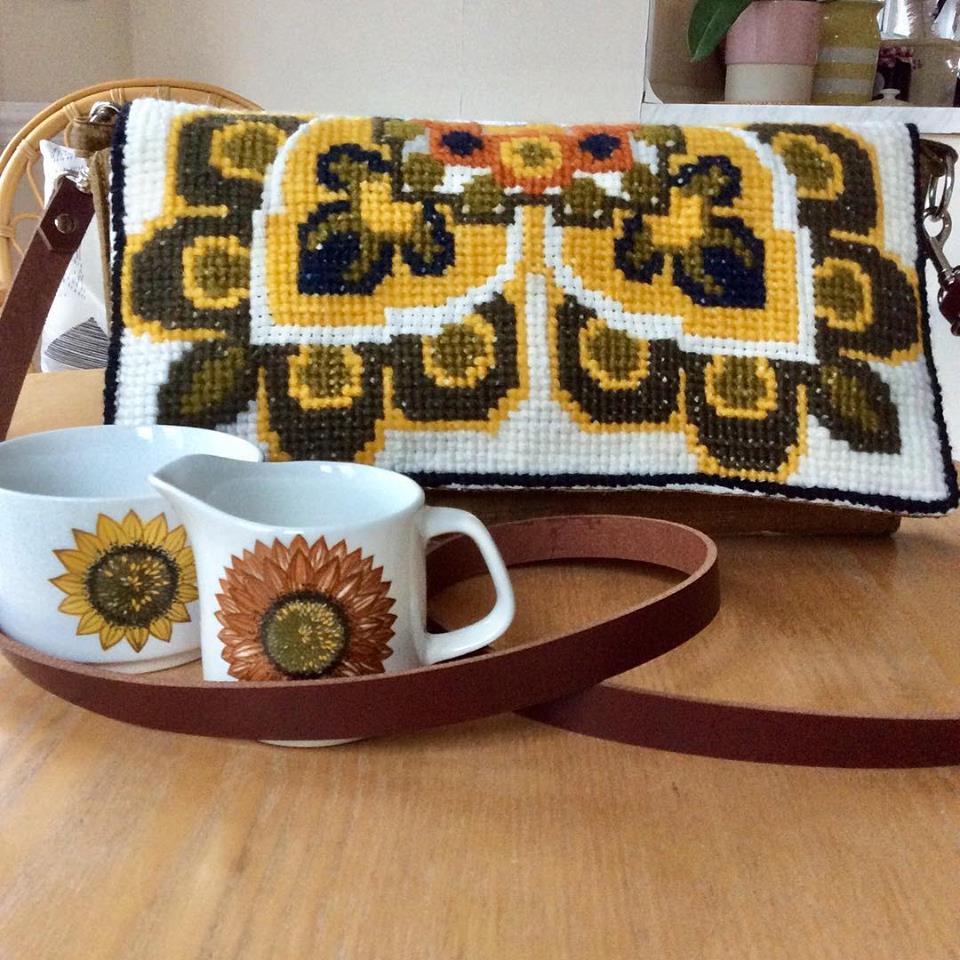
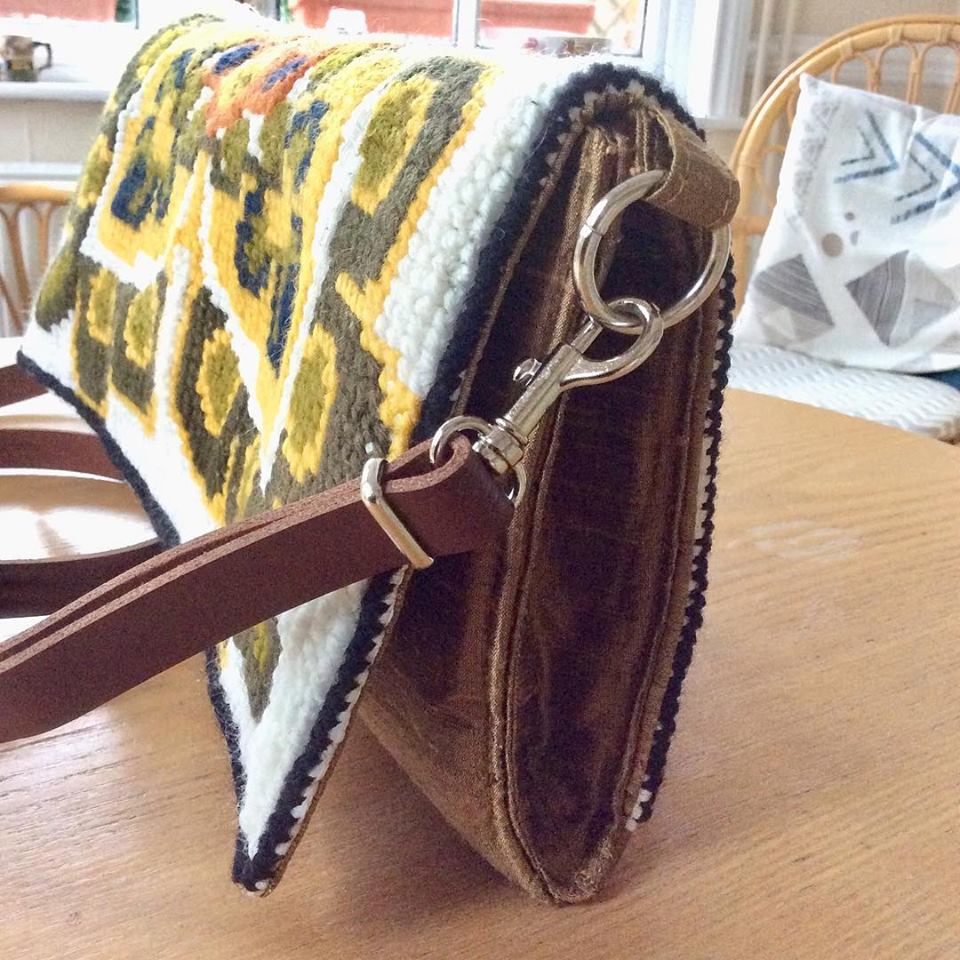
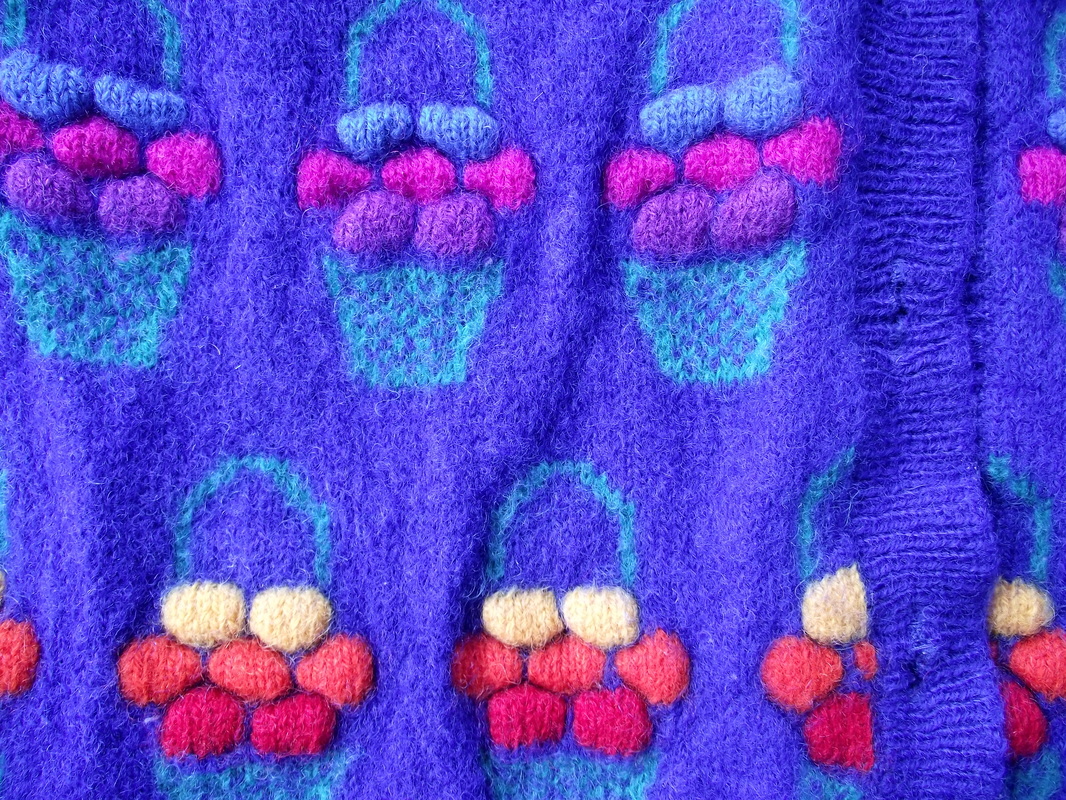
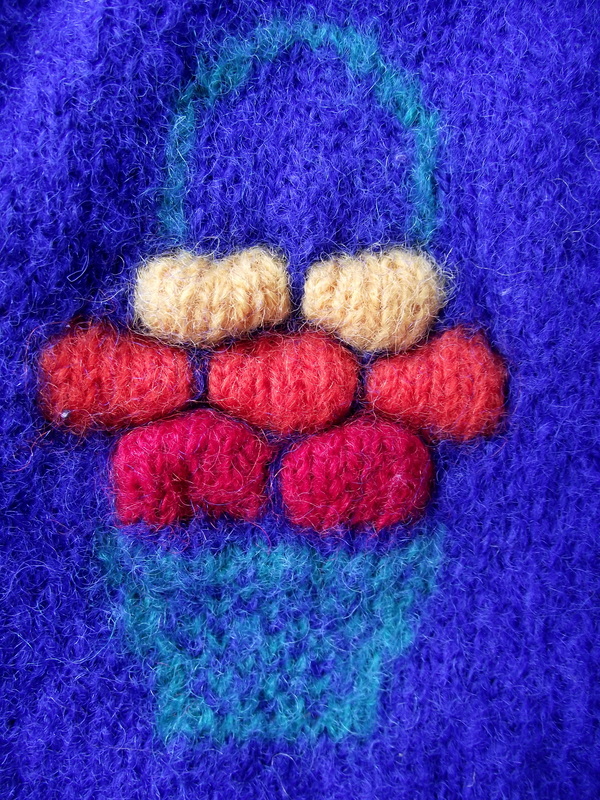
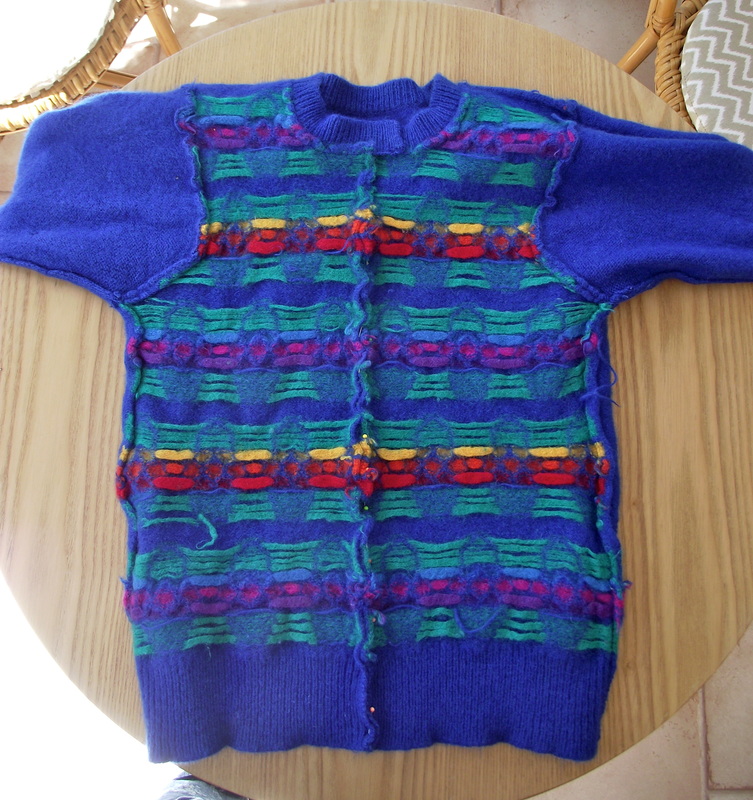
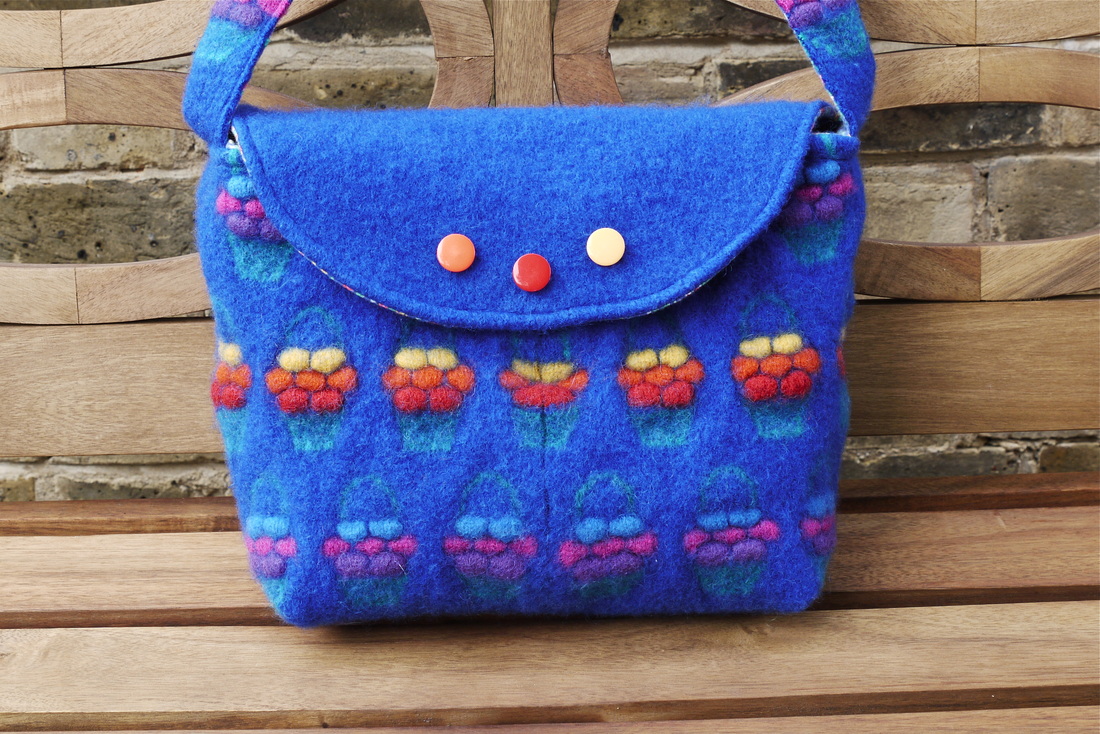
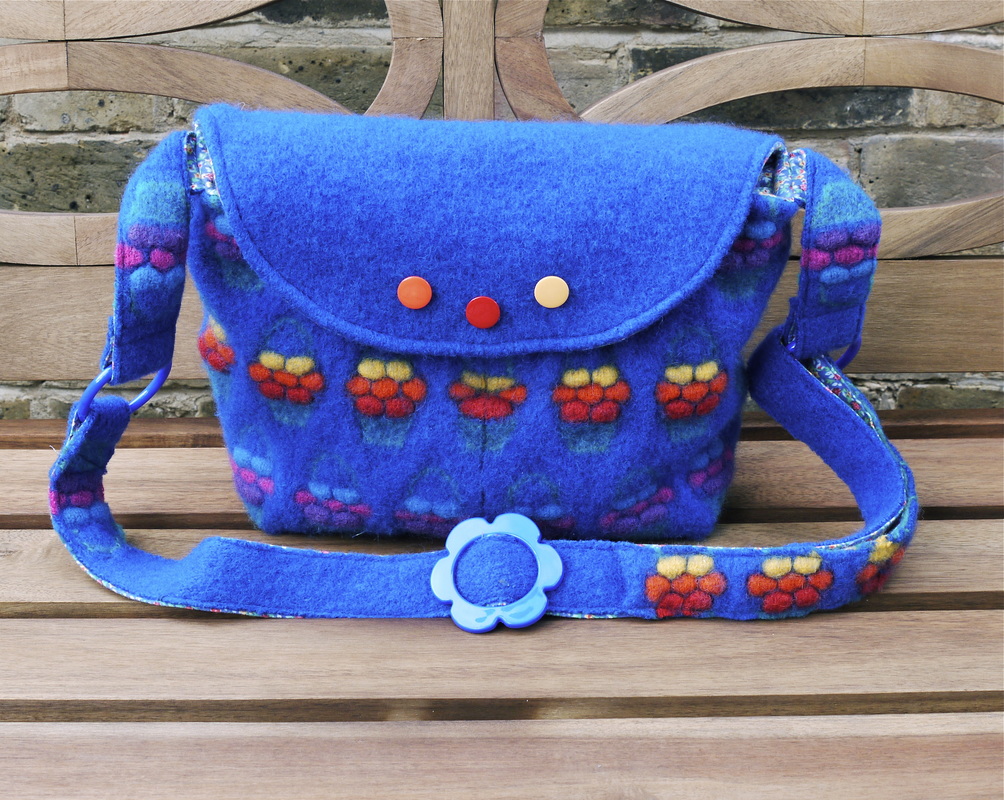
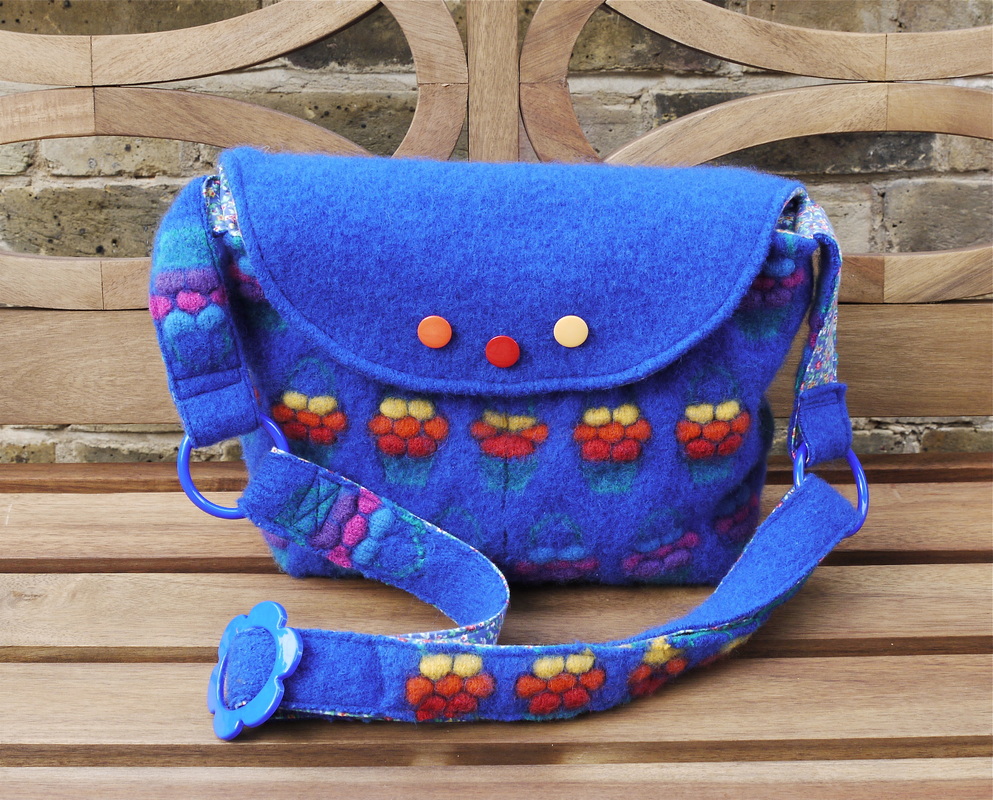
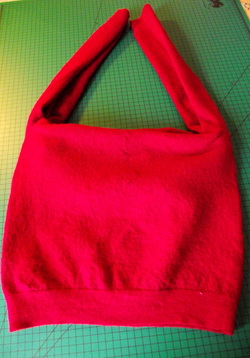
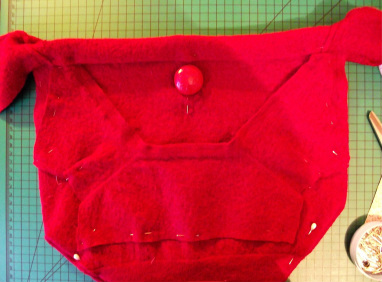
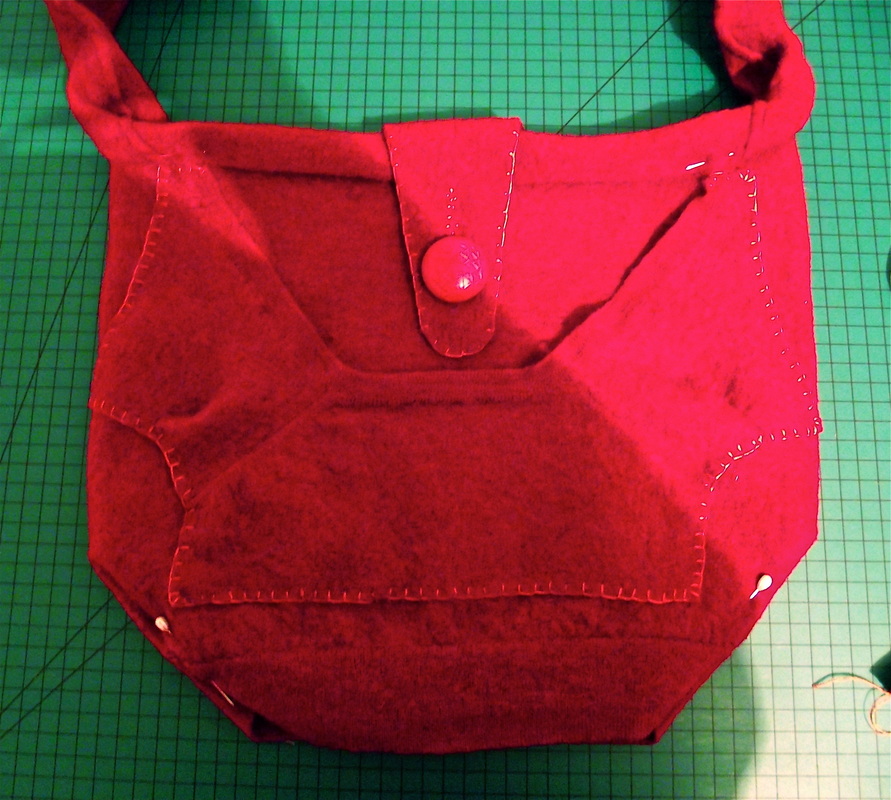
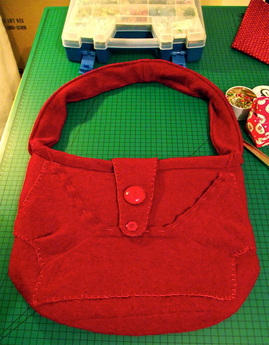
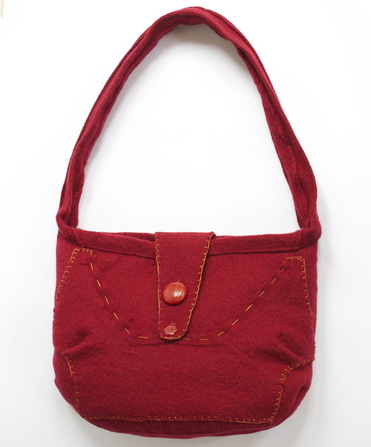
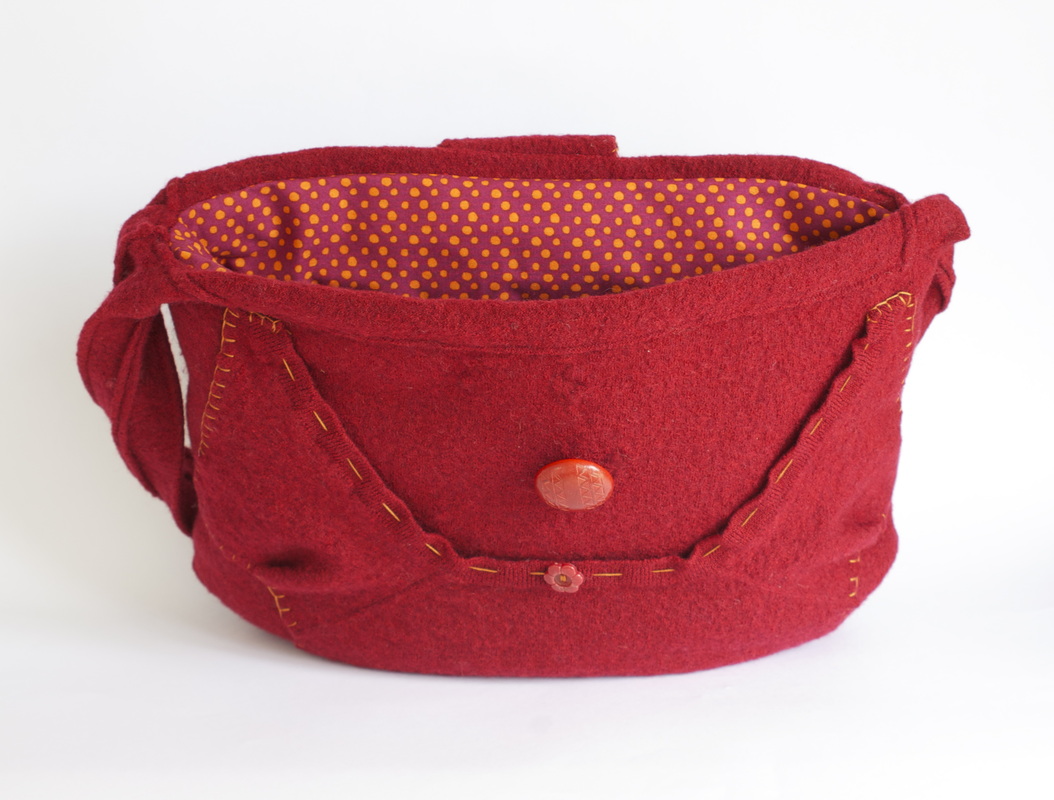
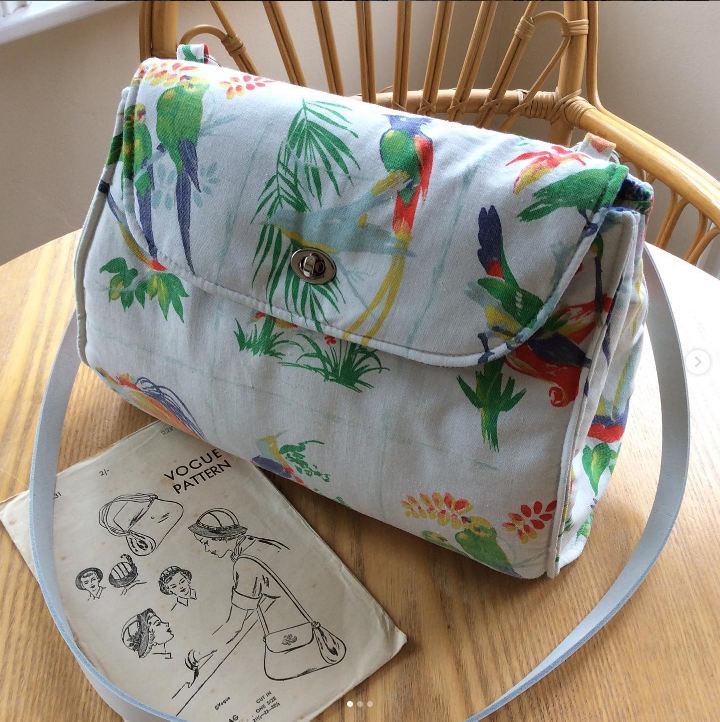
Vintage sewing pattern made with preloved fabric
Picture
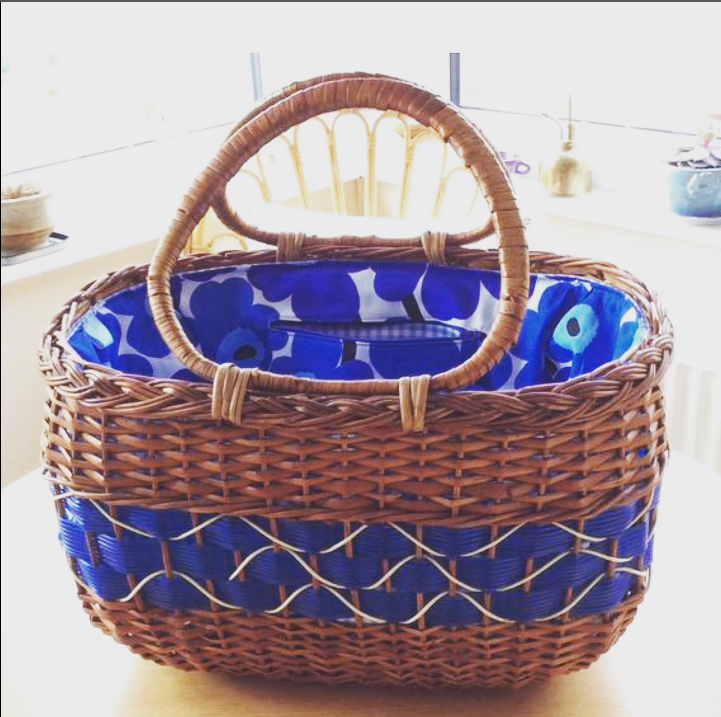
Refurbished with a vibrant Marimekko fabric.
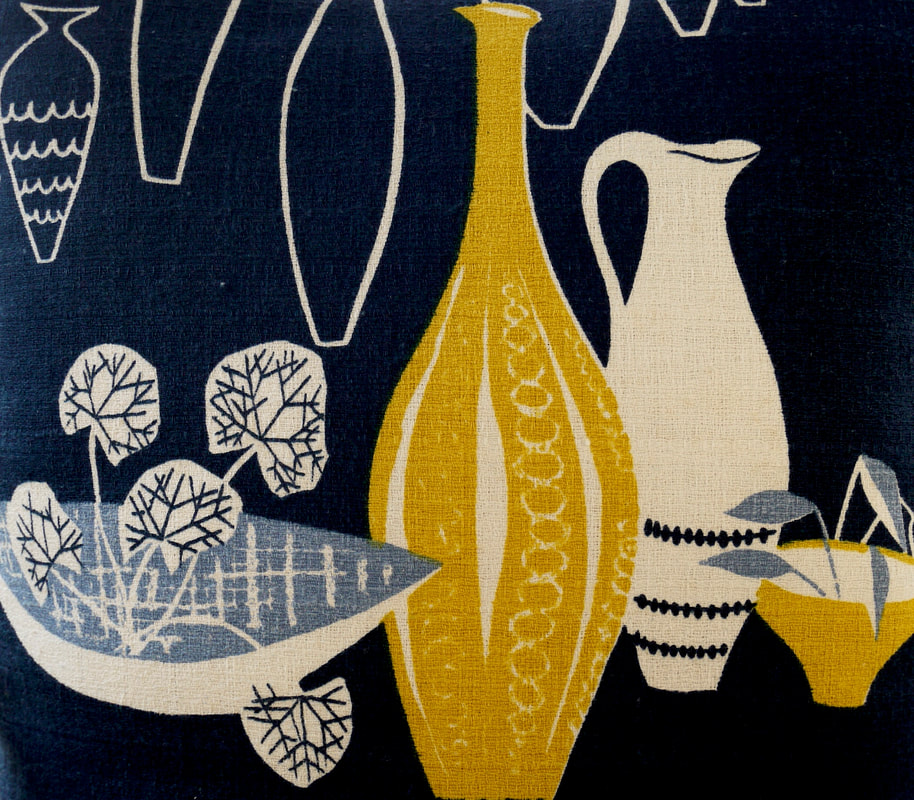
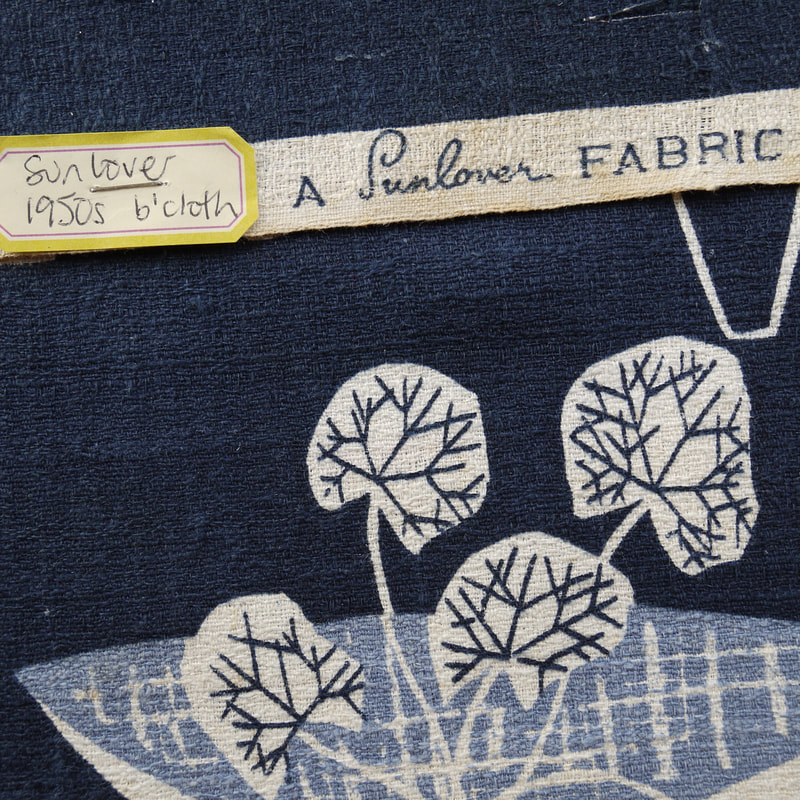
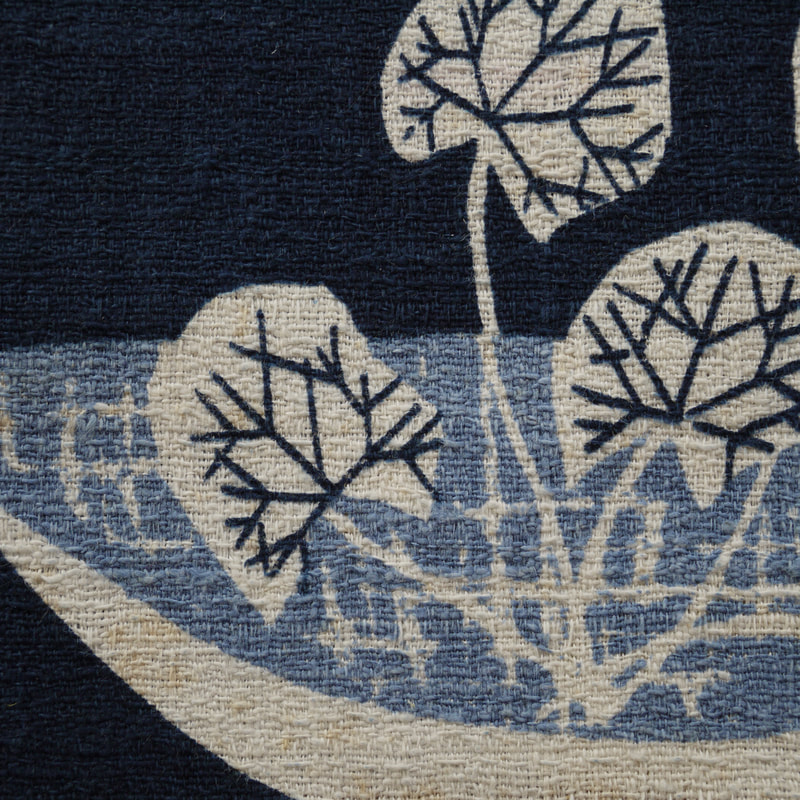
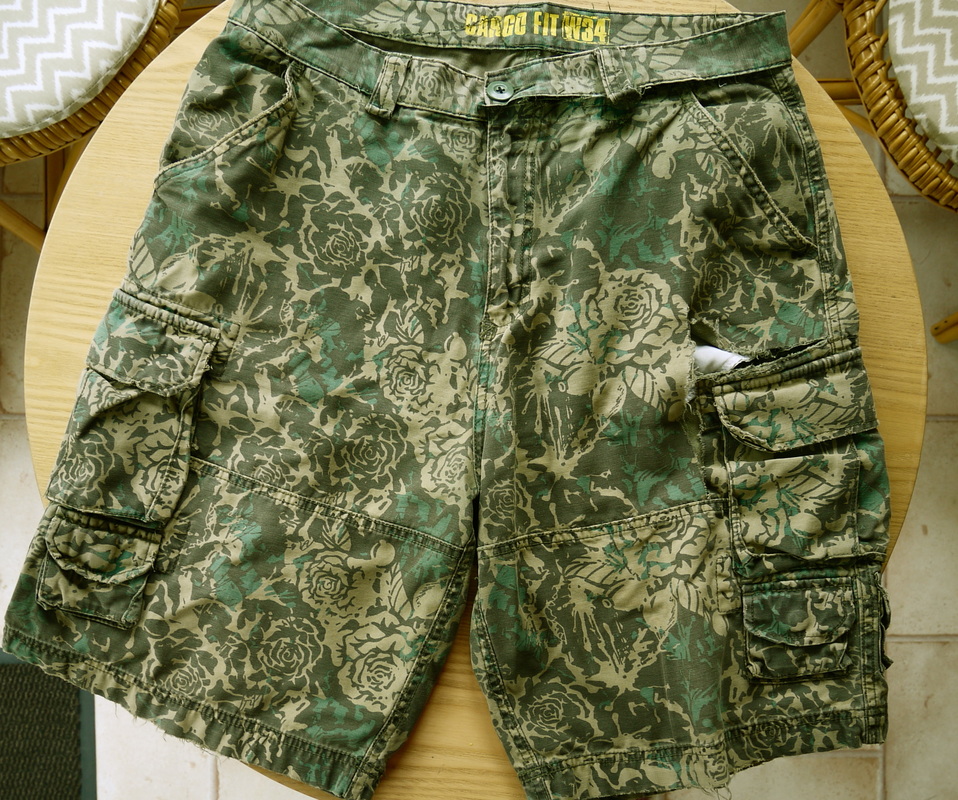
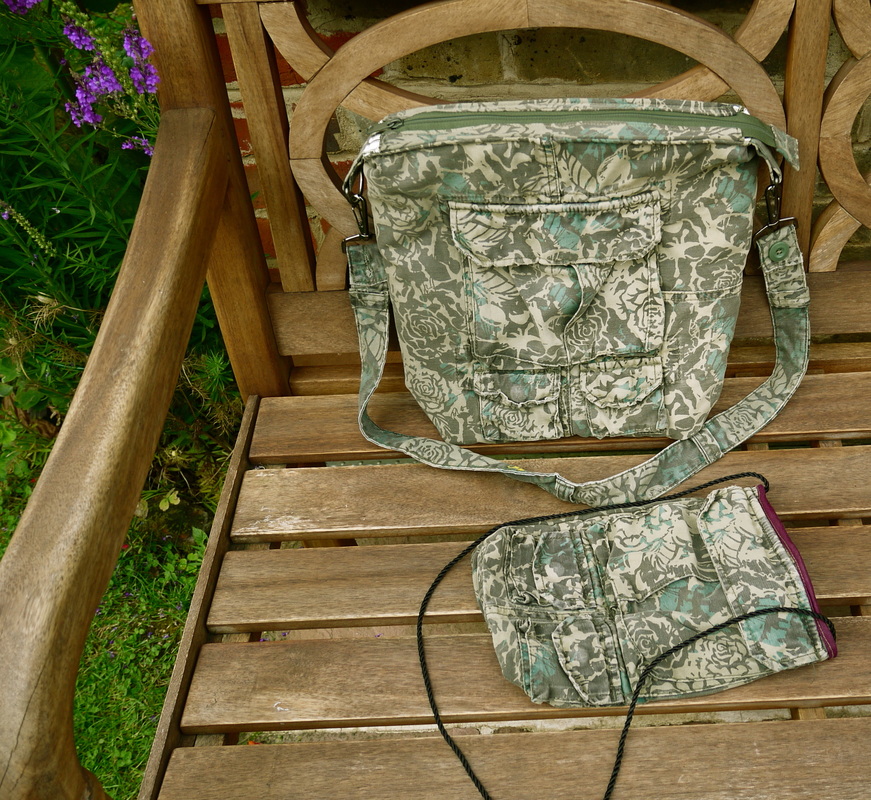
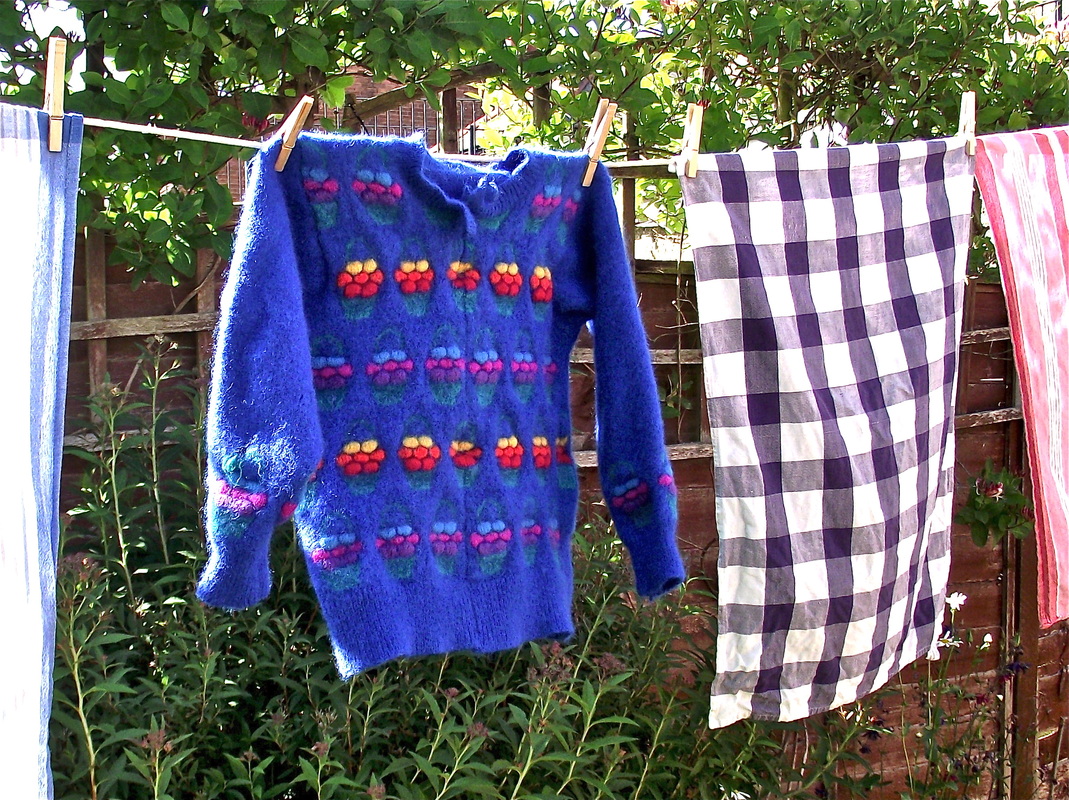
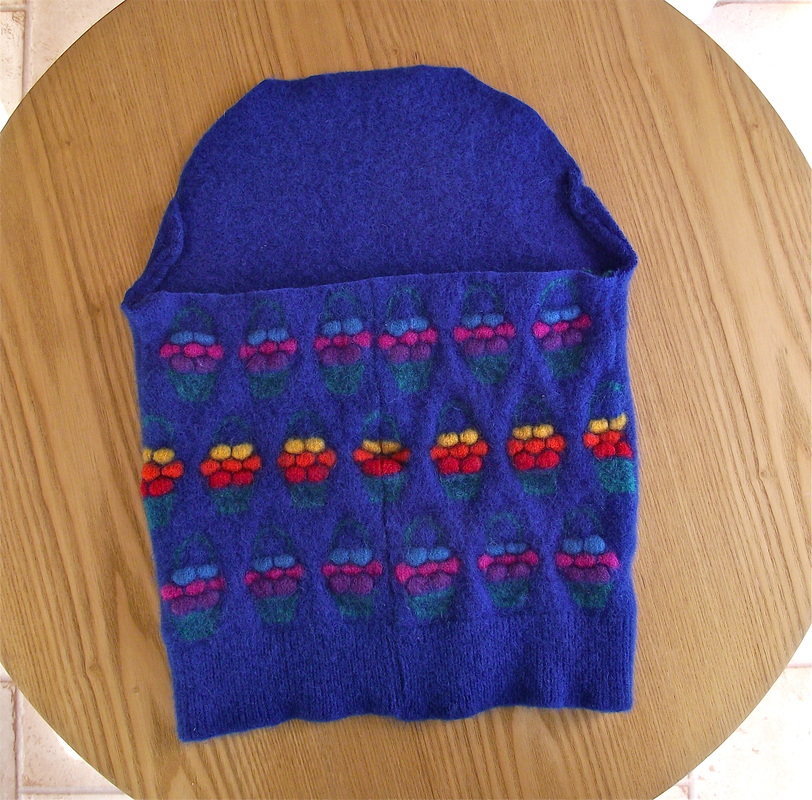
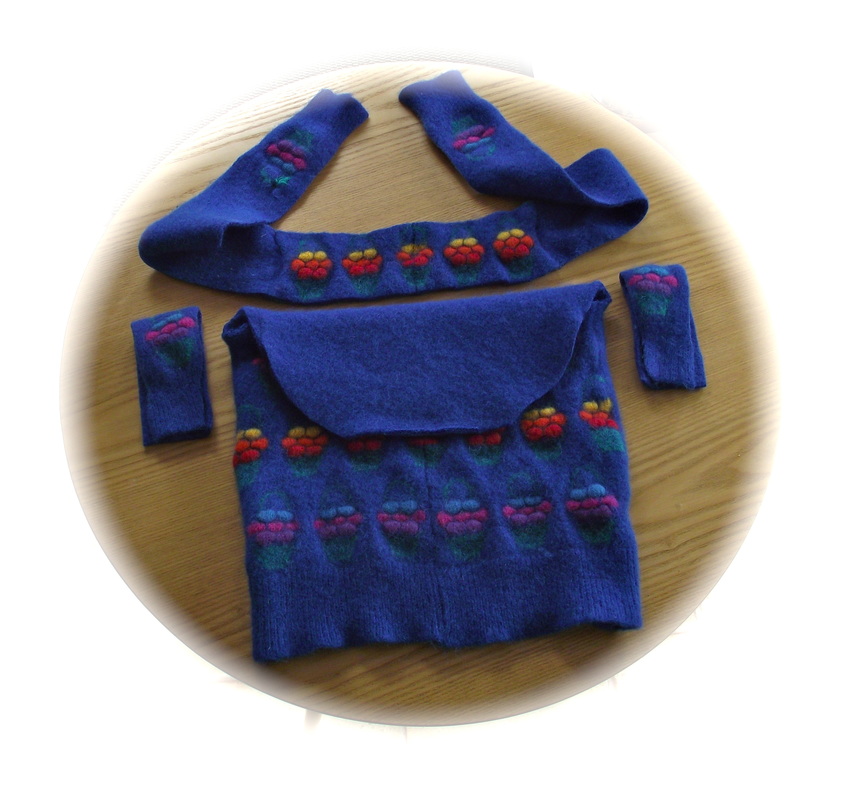
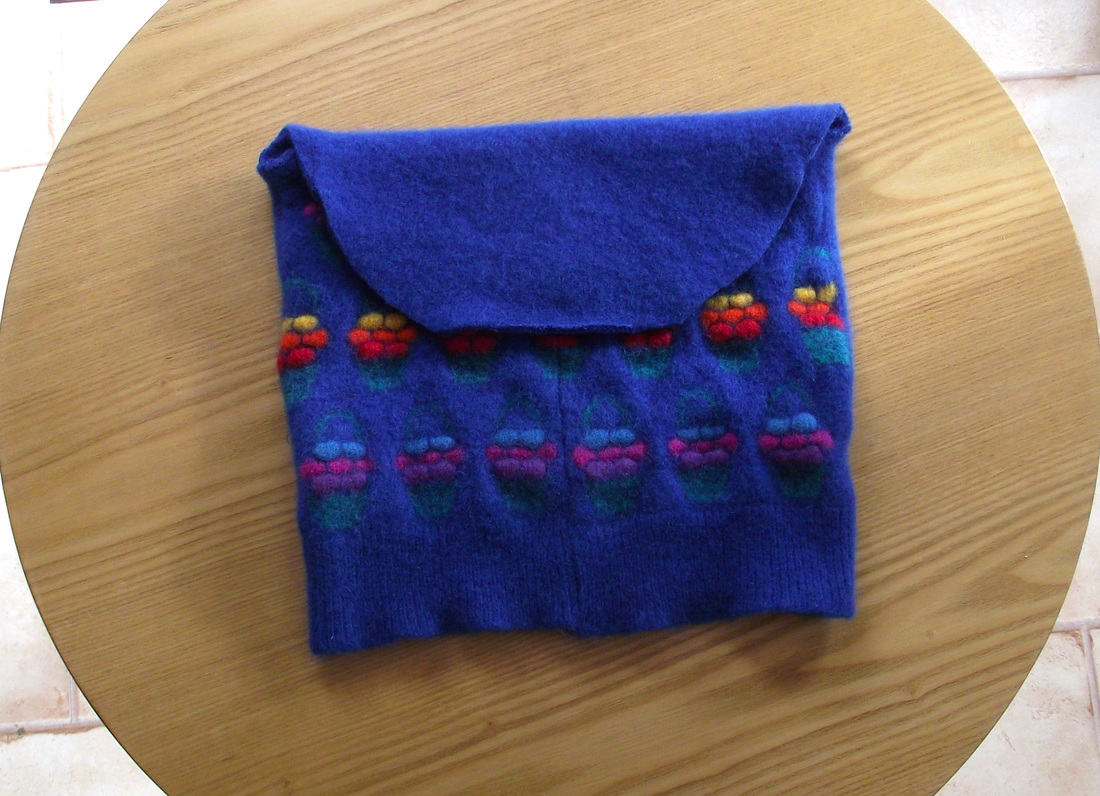
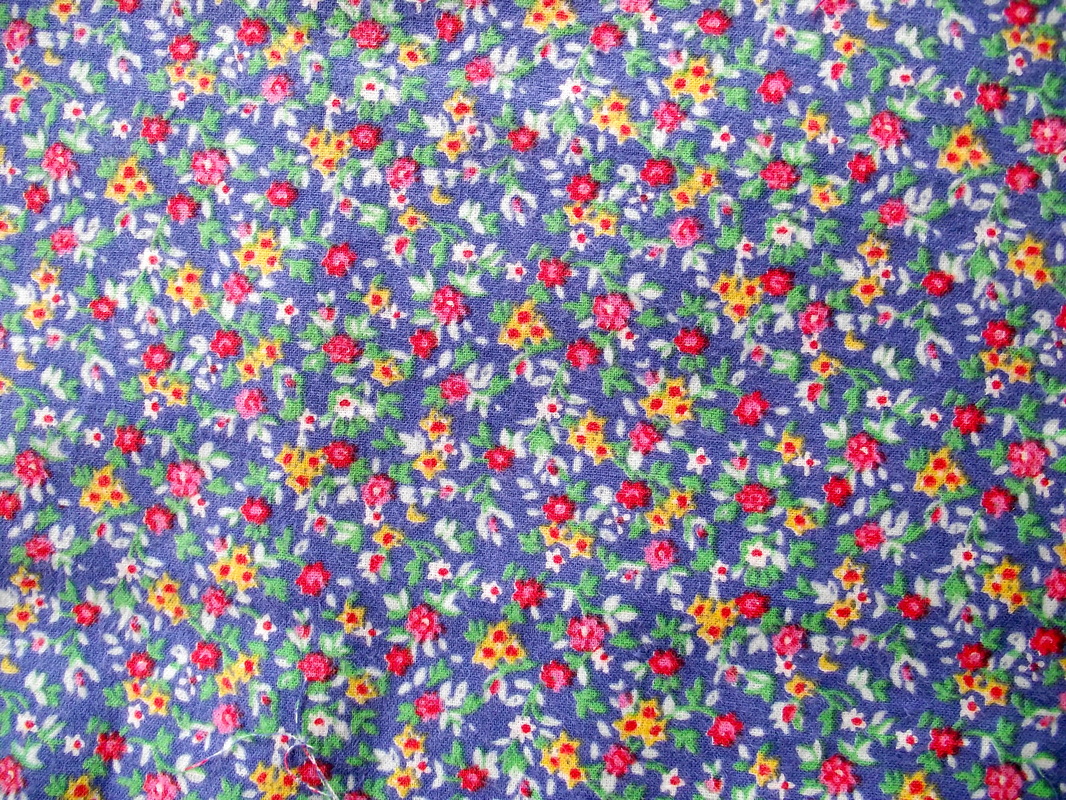
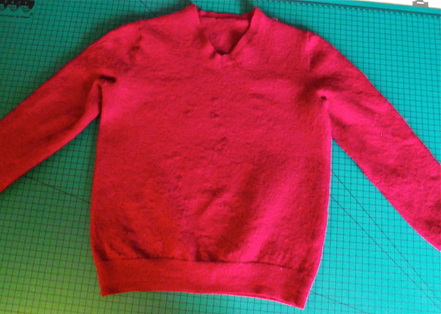
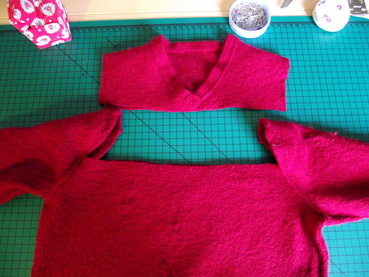
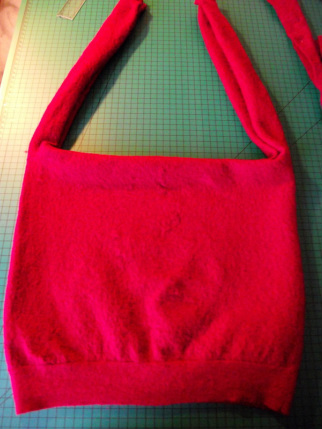
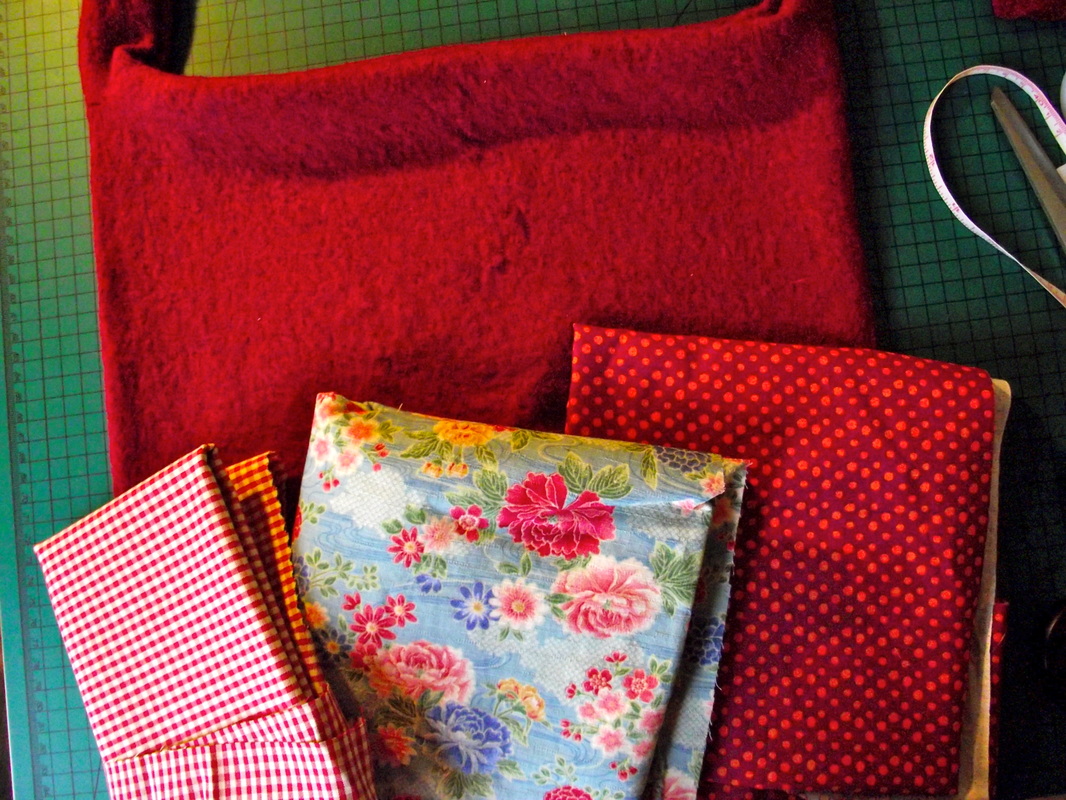
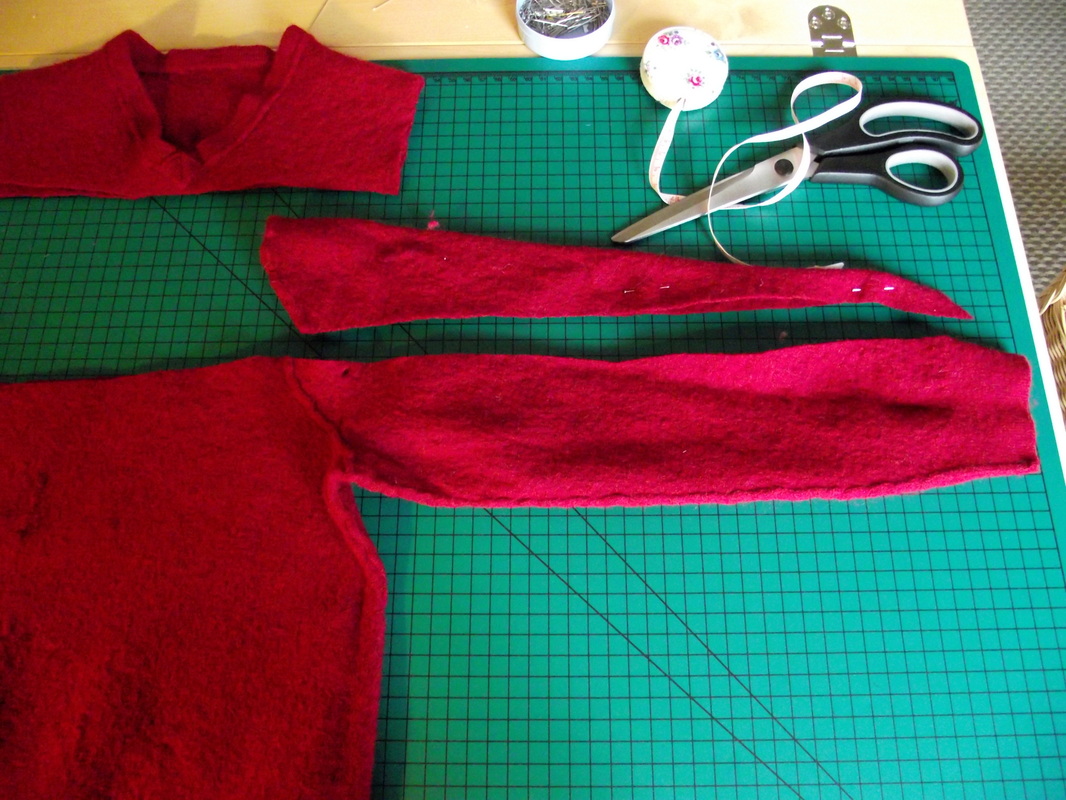
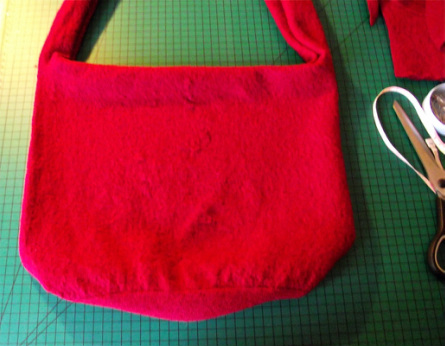
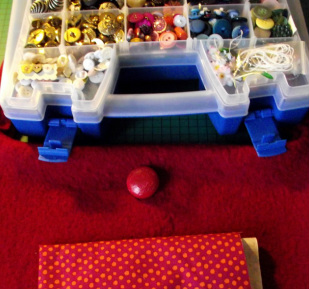
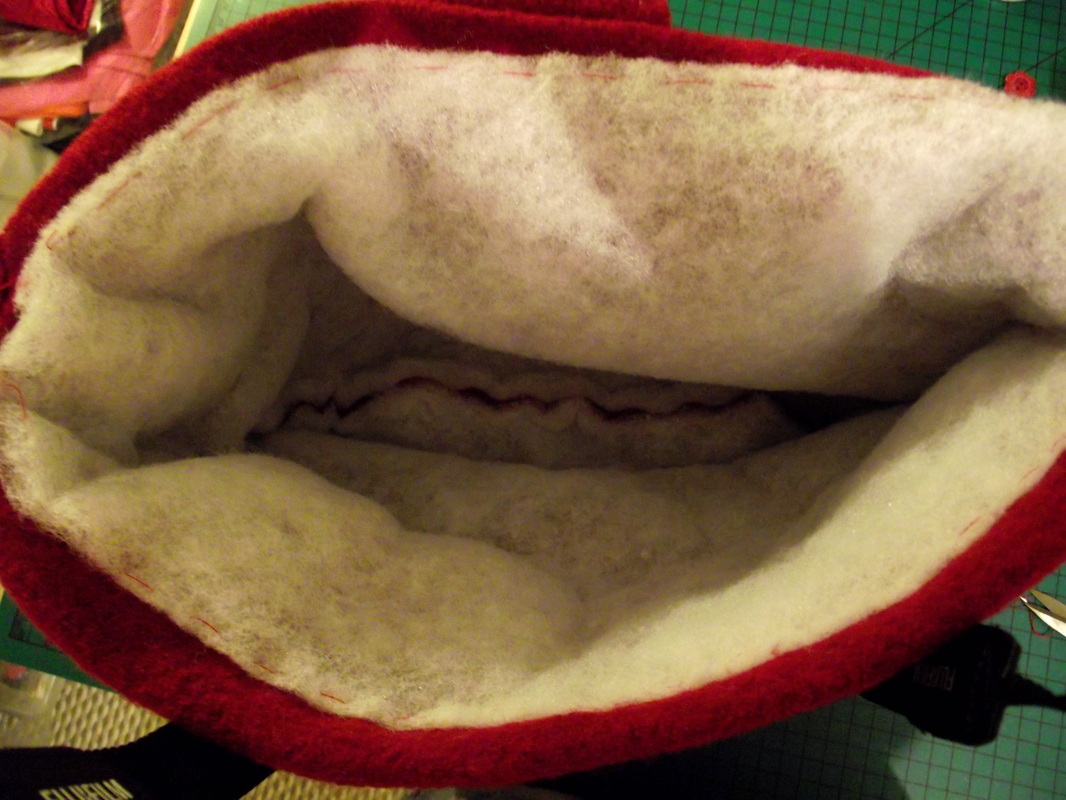
Sustainability And then there's my vow to be more sustainable. I already use eco-friendly wrapping, that can be recycled or reused, now I am looking to find some more sustainable ways of creating items. I have in the past, used preloved fabrics and woollens, so there will be a bit more of that, certainly.
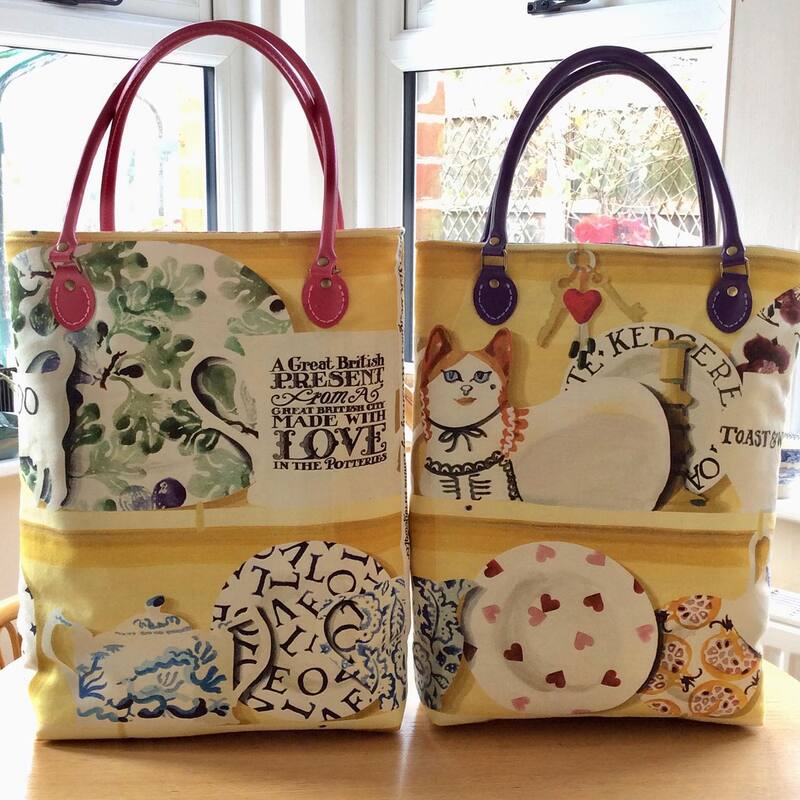
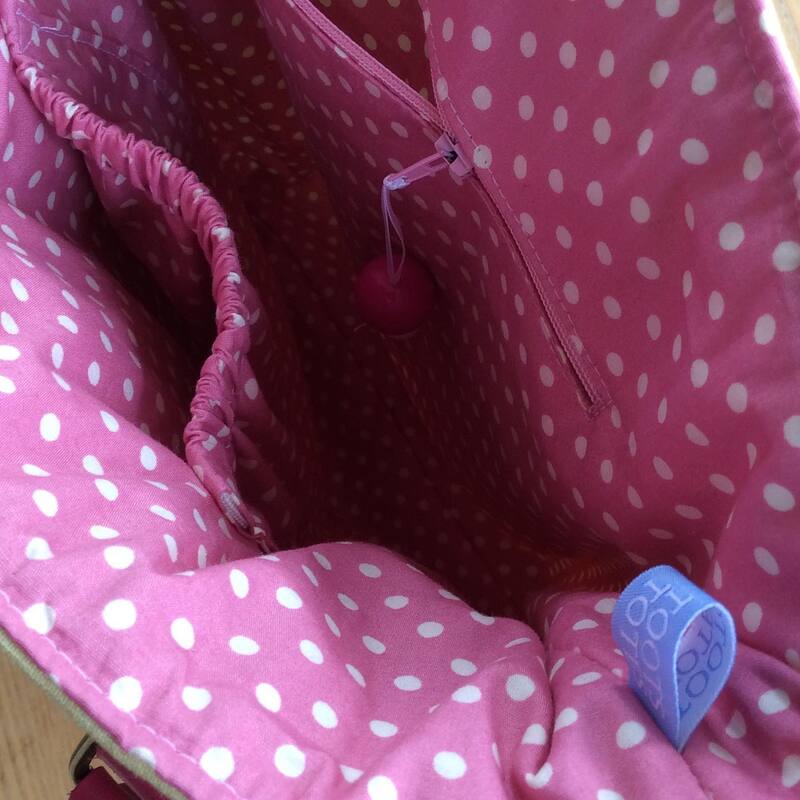
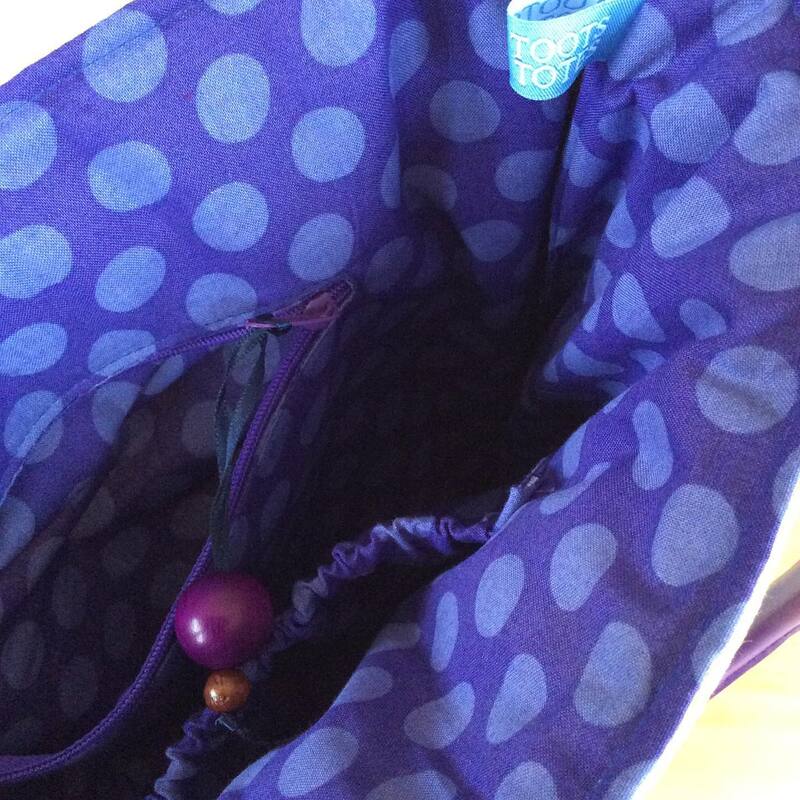
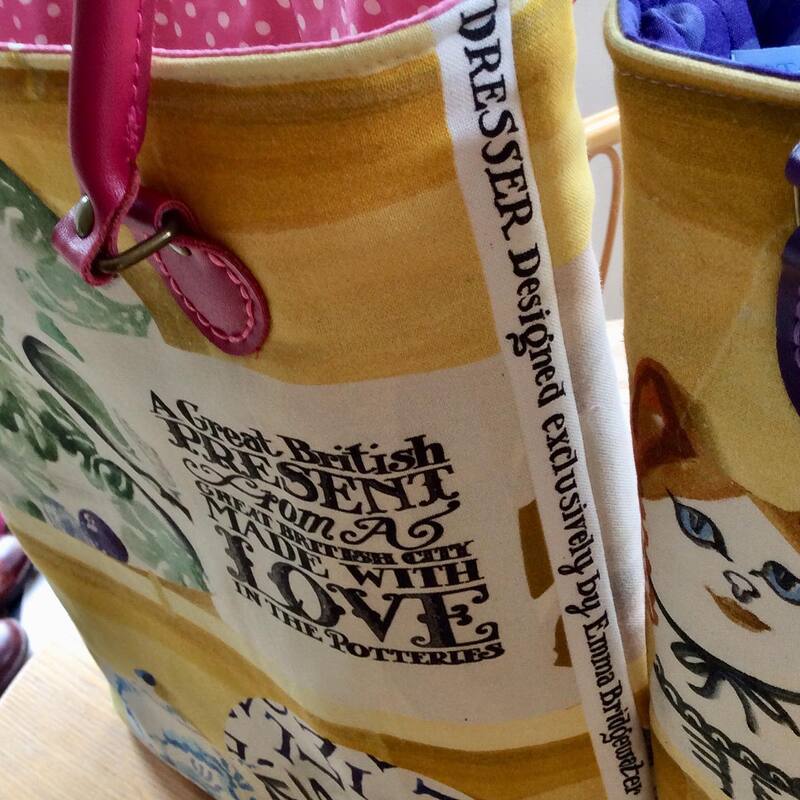
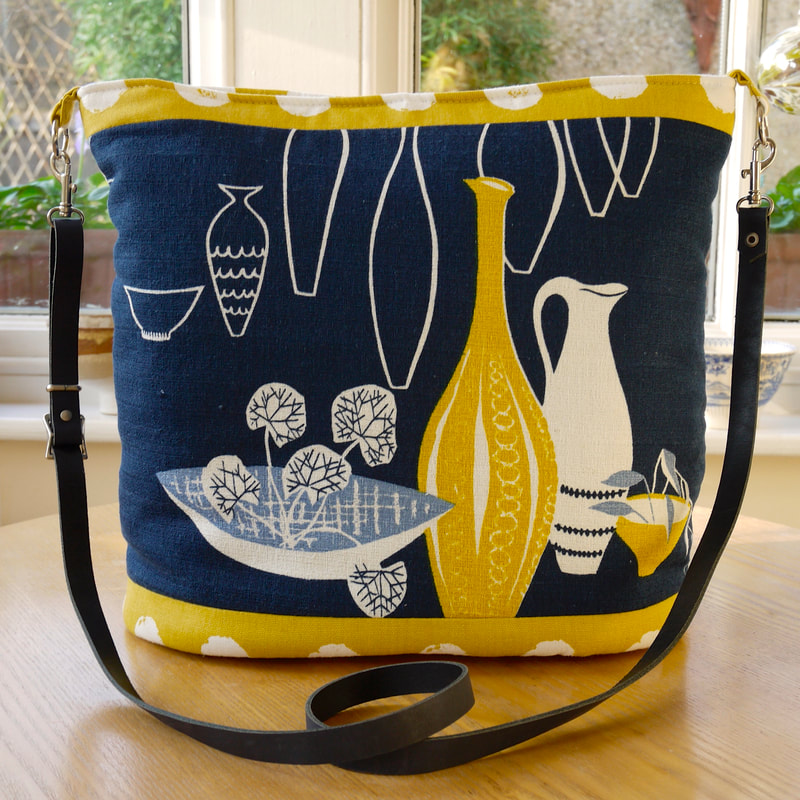
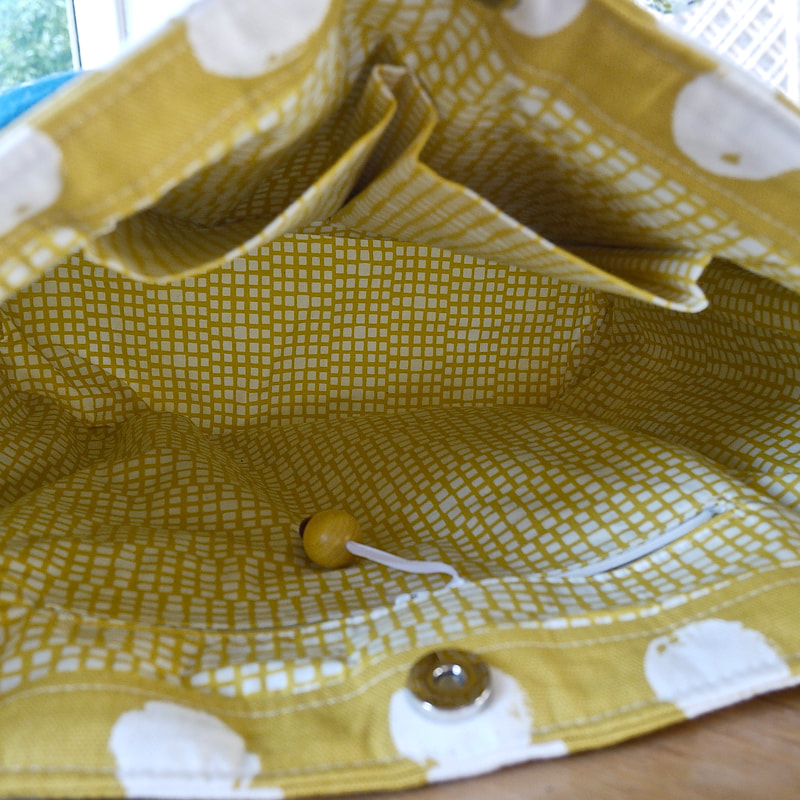
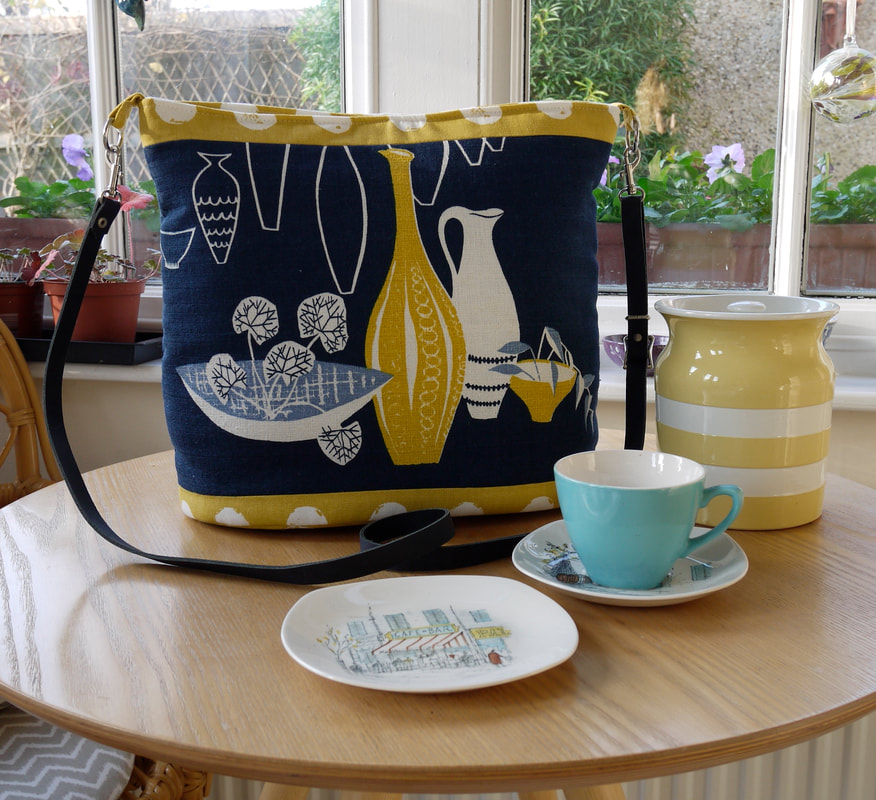
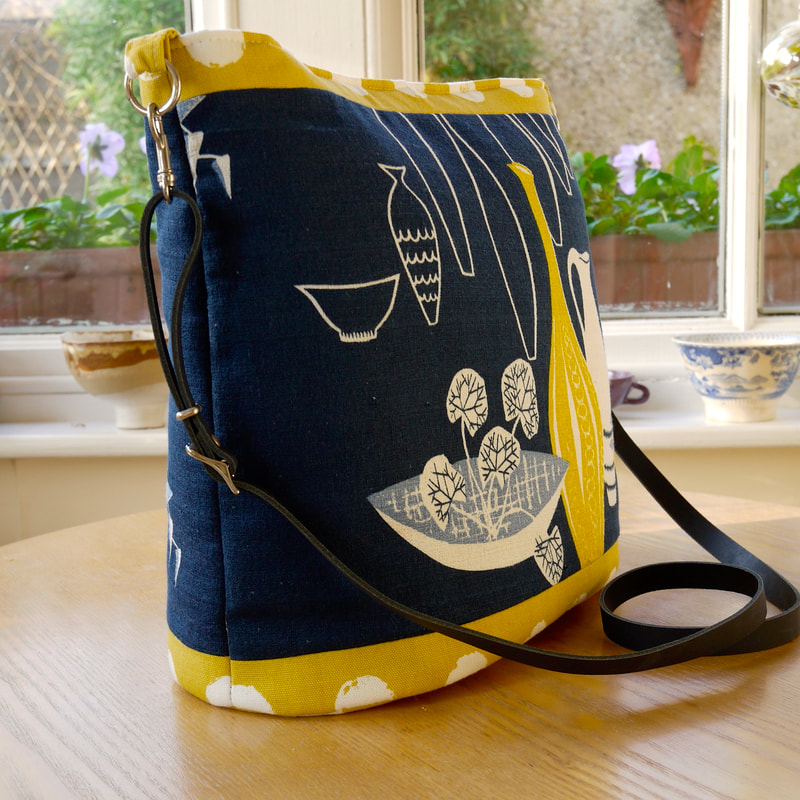
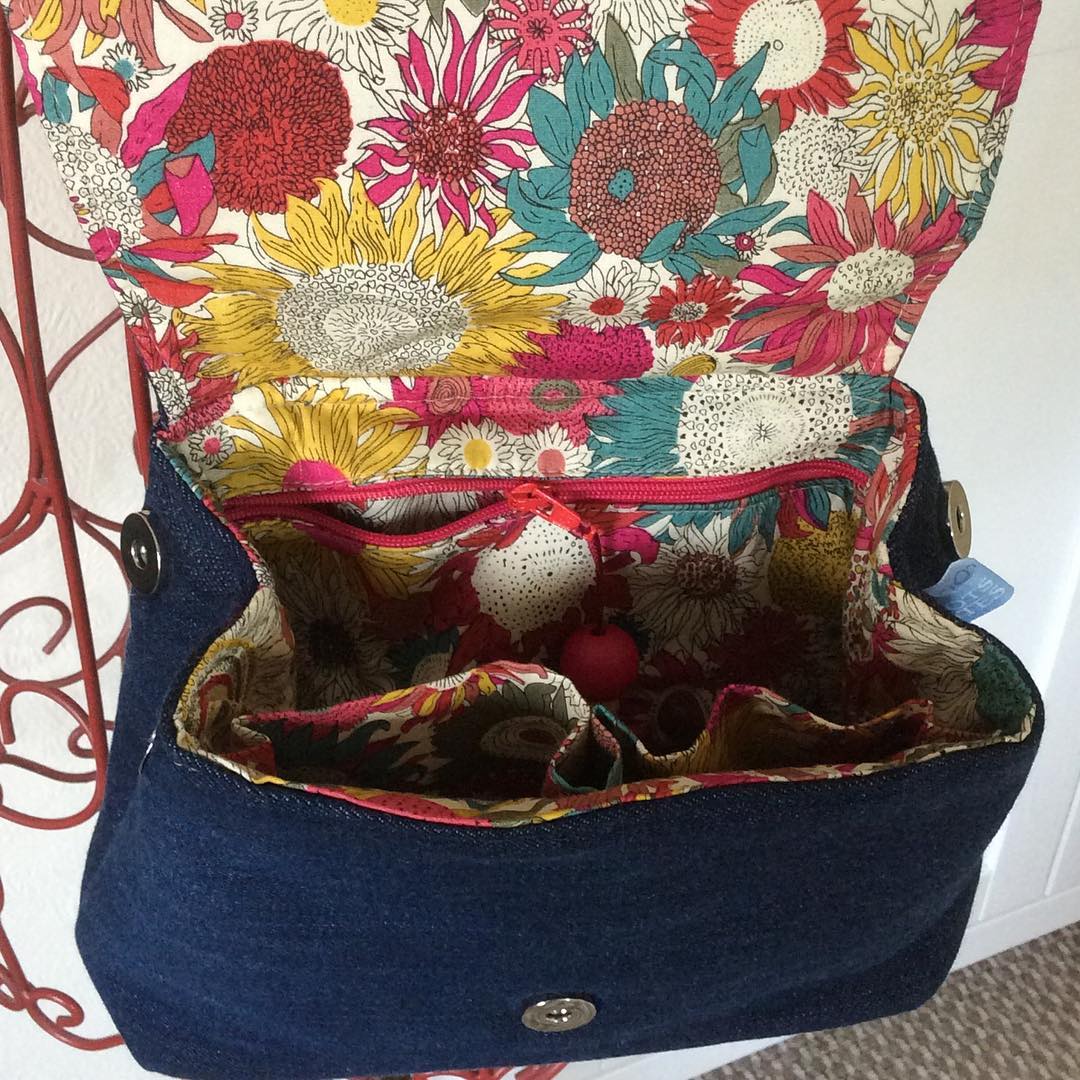
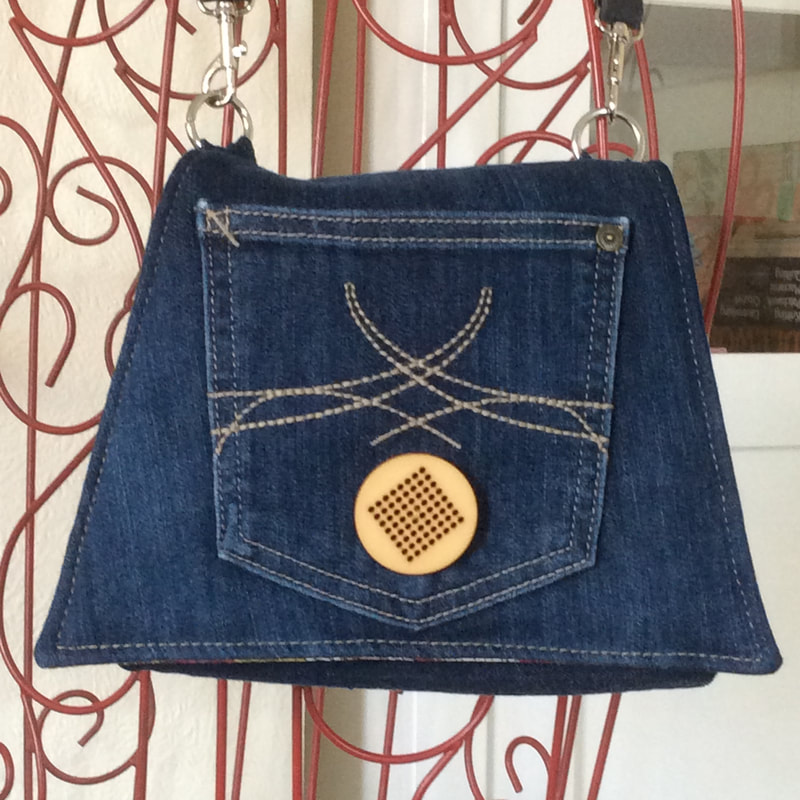
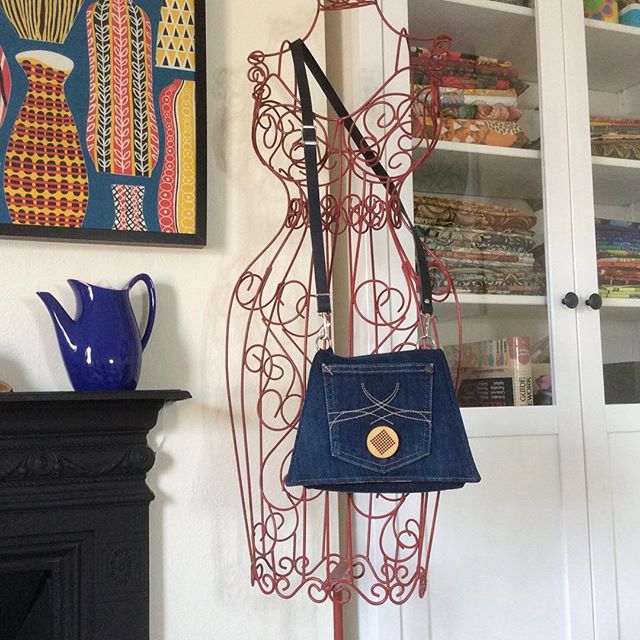
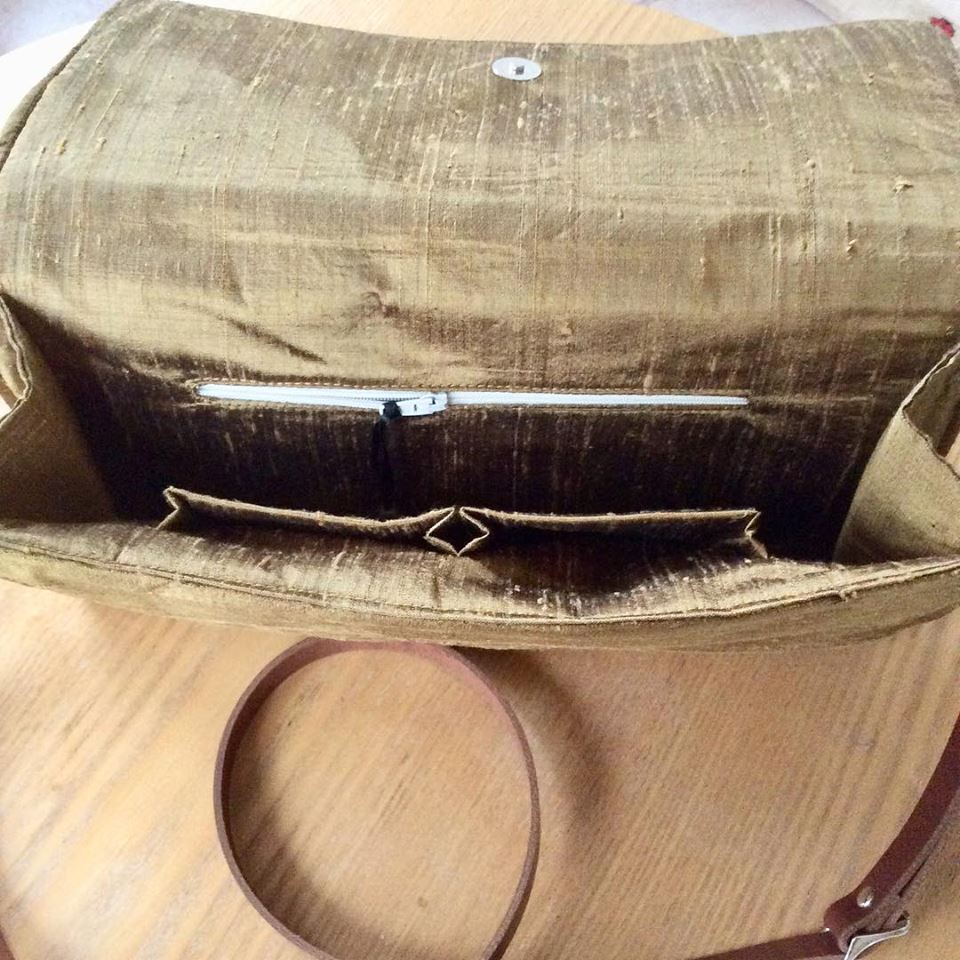
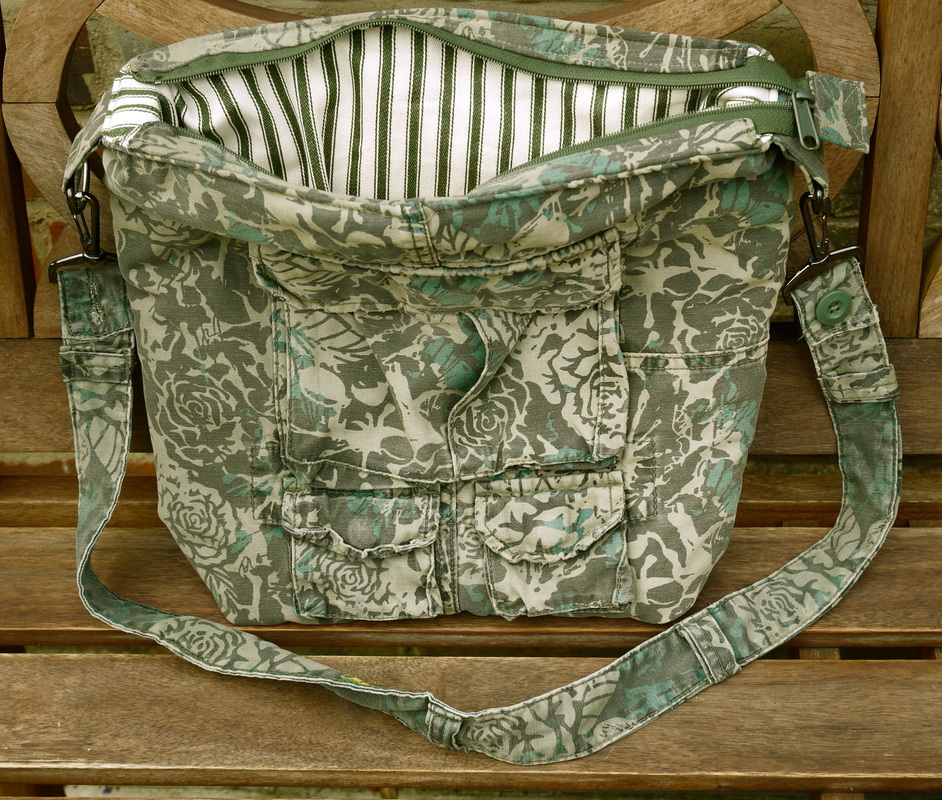
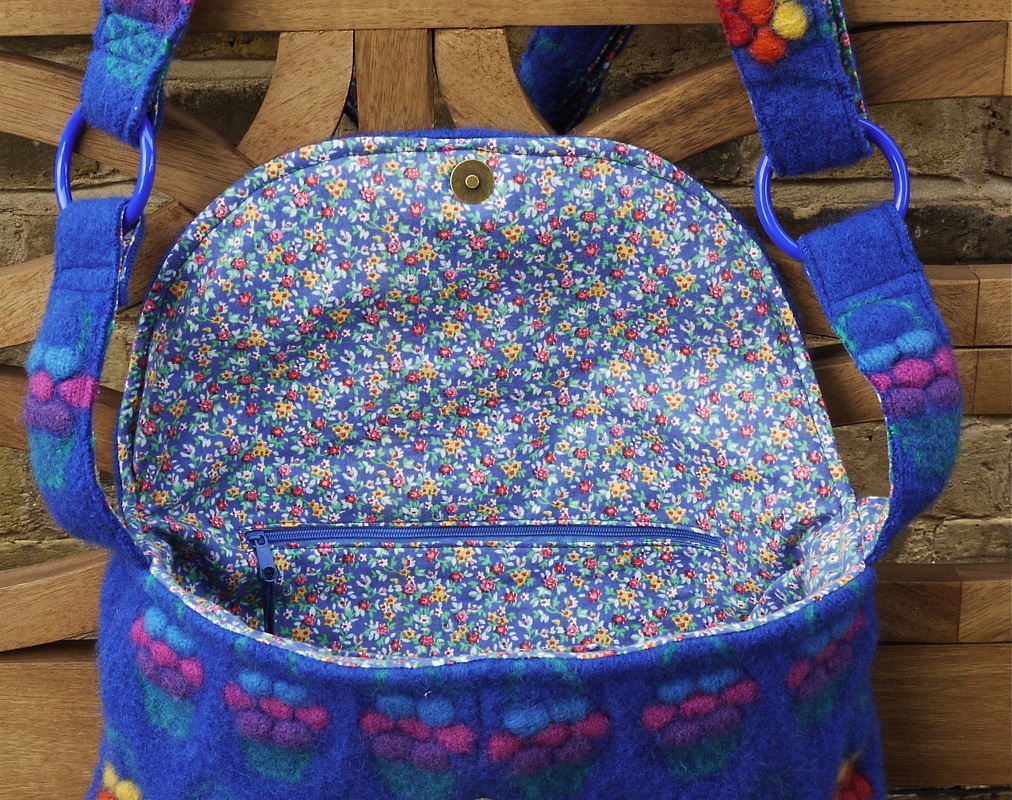
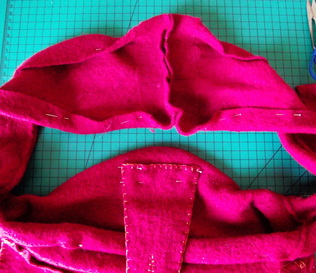
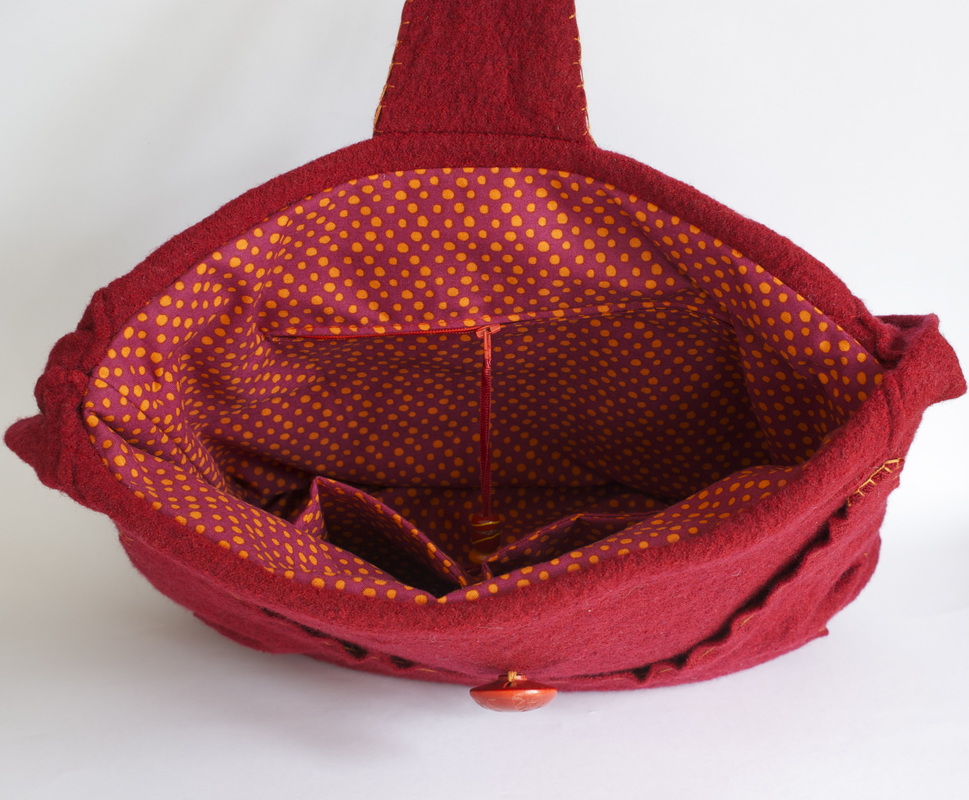
Refurbishment I am also offering a free refurbishing service for Toots Totes bags you may have bought from me in the past that need a new zip or lining to make them last longer rather than you buying new. My bags are made to last with the best fabrics and threads and strong construction methods, so they'll stand up to that challenge!
Furthermore I intend to find sad and unloved wicker handbags to clean and refurbish giving them a new life. Watch this space!

0 Comments

Reclamation

2/11/2020

0 Comments

 
UPDATE: Both now SOLD
With the Emma Bridgewater fabric being oh so popular I was on a mission to find some more. Frustratingly it was very difficult to find and the smallest pieces were going for mega-bucks!
Then I chanced on a cushion cover that had used a whole width of the fabric, so a massive cushion and lots of fabric for me to re-purpose. (Who needs another cushion when you can have a unique Tansy Tote?) I checked with the seller that it was in good order and purchased it at a fair price. I was a little caught out as there were some marks along the bottom I couldn't wash out, but I cut them off and there was still plenty left to make two Tansy totes.

With a soft wadding and plastic reinforced base to give some substance, leather handles and lovely purple or pink spotted cotton lining, they were great fun to make!
The pink version has an additional feature of the design details down the side and shows no obvious signs of its previous incarnation as a cushion cover.
Please note that the purple version has some stitching lines from it’s previous incarnation as a cushion, (e.g. see pic , running from cats ear upwards, which also extends down the side to the base). It doesn't spoil the overall look of the bag and if that doesn’t bother you and you’d like to add one to your collection or tick someone off your gift list, please message me below for more pics or to purchase:

👛£60 (inc UK p+p) 👛

Click on pics to see whole picture.

Submit
0 Comments

1950s Sunlover - Vintage Chic

29/11/2019

0 Comments

 
I made hay while the sun shone during the warmer months. Once again I’m cosied up in the sewing room and can fill you in on what I‘ve been up to.
Picture
 
Here’s a fascinating cotton barkcloth  that I was really pleased to acquire from an extensive vintage collection. The selvedge states that it is a ‘Sunlover ‘ fabric, but no other name apart from that and the seller’s label reports it to be from the fifties. The iconic design is typical of that decade with its sleek pottery lines and stylised plantlife reminiscent of Terence Conran’s design for Midwinter Potteries. It might be a Mary White textile design, but I don’t really know.

Picture
I’ve seen the same design against a bottle green and also with a black background with red and yellow, both of which work well. I love this design so much I have even framed a piece for the wall of my guest bedroom!
Picture
Picture
The remaining piece was to become a Bouquet (bucket) bag with an adjustable cross-body or shoulder strap. When I laid the fabric out on the cutting table, I found that there was some degree of foxing (little brown marks usually caused by moisture during storage) on some of the pattern. Mind you, it was 60+ years old, and had survived remarkably well!  However, I couldn’t avoid it as I didn’t have enough fabric to play with. I had just enough for one side of the bag.
Picture
You can see the discolouration on the white sections.
I contacted the seller on the slim off chance she had some more and she said she’d have to search through her stash. She finally came back to me offering a small piece that was just the right length for the other side of the bag, but a little narrow. I snapped it up, knowing I would be able to adjust the bag proportions a bit to compensate.

Picture
Picture
I already had a golden yellow and white fabric to accent and frame the design and some jolly gridded yellow cotton for the lining. Adding a yellow beaded zip pull and a navy leather strap completed the picture. Talking of the picture-you can just see my reflection in the window! Doh!
Picture
A bit of vintage chic with a name to conjure up warmer days, don’t you think?
And a real one-off!
It measures approximately 13 inches across the top and 12 inches tall, so a good sized bag for days out or as a work bag.
The leather strap can be adjusted from about 24 inches to 48 inches.
Now SOLD.
£60 with free postage in UK.
I can send anywhere tho’, so please contact me here for a postal quote to where you live!

Payment via:
paypal.me/tootstotes

Picture
Picture
0 Comments

Lulu's first modelling job for Toots Totes

20/1/2019

0 Comments

 
When we produce so much waste per household, it's very satisfying to re-purpose clothes that you've loved and worn to death! I currently have a pile of T shirts collected over the last couple of years that I intend to turn into a rag rug.
A while back, I carefully unpicked the pocket section from a pair of jeans and have finally got round to making myself a little denim bag. As I usually get the cast-offs from failed bag attempts, making one especially for me feels like a luxury!
I made it to the same sort of shape, but narrower than, my little "Clover" clutch, with magnetic fasteners either side so the bag opens up to find stuff and looks neat when closed. I already had a Liberty print that made a vibrant lining and I attached an adjustable blue leather strap to a ring each side so that I can wear it as a cross body bag.
It was Lulu's first modelling job for me and she received a few compliments on Instagram! She's very modest and said it was just the bag that caught everyone's attention! I'd like to think so!
Picture
Picture
Picture
Picture
0 Comments

Part of my family history!

8/12/2018

0 Comments

 
Picture
Picture
Picture
Picture
The seat cover made a lovely cross body bag-I had thought it would go onto Etsy to be sold but needless to say I can't part with it-it's part of my family history!!
UPDATE: (30/12/18) And I've since discovered that a cousin in New Zealand also made cushions in this design, following a trip to the UK many years ago, when one of mum's sisters gave her the materials and pattern to make them! So even more of a family piece than I had realised!
0 Comments

Back to the 70's...

26/11/2018

0 Comments

 
Picture
Designed by mum as an upright chair seat cover this cross-stitch is very typical of the 1970's. When 70's colours went out of vogue the seat was re-covered, this was washed and placed aside in the linen cupboard, where I found it again recently. The colours and design now appeal to a new generation and Mum's quite happy for me to repurpose it, so I'm going to attempt to make it into the back and flap of a clutch bag.
I have a lovely golden dupion silk to make the front and lining, so we'll see how that works out!
0 Comments

A short(s) interlude...something useful!

13/7/2016

0 Comments

 
I can't resist a challenge and my bro'-in-law needed a man-bag! His beloved camouflage shorts really were past it but those lovely pockets deserved a new life! So I turned this...
Picture
Sad so sad...
Picture
well ripped
into this....
Picture
Salvaged a bit from the torn side to make a smaller bag
Picture
The waistband became a strap and green ticking made an ideal lining.
And if you look carefully you can see that the seemingly random camo patterns are actually roses! There is beauty in the most unexpected places-you just have to look for it!
0 Comments

Out of the blue...

20/7/2015

2 Comments

 
Picture
A friend has given me a woolly cardy to do with whatever I like! And you know what that means : an upcycle challenge!  It's my favourite shade of blue and the colours and detail in the baskets of flowers are just wonderful. It has had two owners in its lifetime and it now needs repurposing! Can't wait to get started...
Picture
Picture
It's already had a hot wash but I decided to give it another in with some towels to thicken it up a bit more. It shrunk quite considerably and felted nicely. I took the front bands off and turned it inside out to sew the edges together-my aim is to join the two halves of flower baskets at the front, hoping this will look ok for the front of the bag.
Picture
I want it to be secure down the middle, so back into the wash to knit it all together some more! Well I did want it felted and it certainly is now! Once a roomy 38 inch round it's now more like 28 inches and much thicker and sturdier. 
Picture
Time to set the scissors to work. I think I'll leave the back intact to see if it will flap over sensibly.   
Picture
Sleeves and upper front removed.
Picture
I won't waste any of those flower baskets! What's left of the front and down each sleeve trimmed to make a strap and loop holders.
Picture
Back makes a neat flap.
Picture
I already had this coordinating ditsy fabric for the lining.
With a plastic base and lining added and strap attached with my favourite loops and buckle here's the finished flowery wonder! I've used some of the original buttons on the flap and a magnetic fastening. It'll now go back to it's previous owner as a surprise gift - out of the blue...
Picture
Picture
Picture
Picture
2 Comments

Holey old - wholly new! (or how to make a bag from an old jumper.)

9/10/2014

0 Comments

 
Picture

My Uncle John wears lovely 100% woollen jumpers.
He wears them right out, if you know what I mean, until they're totally past it, and then Auntie Dot gives them to me. Here's one he wore earlier!  I chucked it into the washing machine on a hot wash to felt it, sewing up the moth holes first! It shrunk to about a 26 inch chest size.
Skip to the end to see what became of it, if you're not interested in all the details that follow. I quite understand!

Picture


Nicely felted and an ideal starting point for a bag! I started to manipulate the felt. First question: could I make the sleeves into a handle without detaching them?
I needed to get rid of some of the excess fabric to have more of an idea as to whether it would work.

Picture
First I cut off the shoulders and V neck to see what I had to play with.
Picture
Trouble is: sleeves are supposed to go sideways not upwards so it's bit awkward, but it should ease in ok.
Picture
Ok, so which lining to use?
Picture
Then I straightened up and reduced the width of the sleeves.
Picture
Tucked the corners in to see how this shape looks. Looking more like a bag now. But those moth-holes are bothering me-although they are no longer holes, as having sewn them up the felting process has knitted the edges together. I must have made the stitching too tight as I'm left with bobbly bits. Will have to conceal them with a front pocket!
Picture
Then I found this orangey-red button and it was a no-brainer!
I then got to thinking about the interesting shape the V Neck and shoulder piece was. Maybe if I snipped through the V it would make a funky front pocket? I pinned it on...
Picture
Just the job! And I rolled over the top of the bag which tidied the edge and continued the roll to the sleeves turning them inside out, to shape the handle.
Picture
A blanket stitch or two later! (Bargain embroidery thread: 8 skeins for £2 at a bootsale!) And I added a double layer button hole flap (cut from the remaining sleeve pieces).
So I had the bare bones. Next question: Could I stitch it together on the trusty treadle and line it to make it look like a proper bag?!
Picture
First I machined the cuffs together to make a continuous handle. Then I attached the button hole flap. Off centre. Unpicked it. Re-sewed it. Spot on!!
Picture
I reinforced the handle join with a non-stretchy fabric to prevent it from stretching and popping the seam stitching. (This will be inside the finished handle so won't show.)
Now to that fiddly handle. I pinned the rolled edges together and machined along, leaving a gap at each side for the fabric to settle in its own way! It actually worked out fine!
Picture
Edges pinned before sewing
Picture
Next I stitched across the corners and base and cut off the excess.
Picture
Showing side gap.
Picture
I hand-stitched some wadding to the wrong side. (this usually goes on first before you assemble a bag, but the whole process was all a bit back to front)
Picture
Now it looks more 3D! I ended up making another smaller buttonhole and adding a flower button to the top of the pocket-this stopped it from gaping!
I then turned my attention back to the handle as it still wasn't quite right-I steamed it flat and machined down each side. Now it sits sensibly. Phew-this bag evolved - it made itself. Me and the trusty treadle just gave it a helping hand! It's a bit asymmetrical but that adds to the character! These pics are more true to colour. 
Picture
Picture
Picture
I finally added the lining with two open pockets and a zipped pocket, finished with a beaded zip pull. It'll now go back to it's original owner-although I don't think Uncle John will appreciate it, but Aunty Dot might!

0 Comments

    Author

    Hello, I'm Ruth Overton. My nickname as a child was 'Ruthie Toots' which is how the name 
    Toots Totes'
    came about!
    I come from a family of artists and artisans and the creative gene has resulted in a desire to make stuff. There's nothing I love more, than to sit at my old treadle  machine, sewing. It was handed down to me, through the family having been bought by my Grandad for Grandma in the 1930's. (See my blogs about the machine here.)
    More recently I have turned my attention to designing and creating bags and 'Toots Totes' began. 
    I'm going to blog about how ideas for bags come about and how things happen in the sewing room, so join me there if you want to, or bypass this to go to the store or the gallery, if you prefer - I won't mind!

    Archives

    December 2022
    November 2022
    July 2022
    June 2022
    March 2022
    February 2022
    January 2022
    December 2021
    November 2021
    October 2021
    September 2021
    July 2021
    November 2020
    September 2020
    April 2020
    December 2019
    November 2019
    August 2019
    July 2019
    June 2019
    May 2019
    April 2019
    January 2019
    December 2018
    November 2018
    September 2018
    July 2018
    June 2018
    May 2018
    April 2018
    March 2018
    January 2018
    December 2017
    November 2017
    October 2017
    September 2017
    August 2017
    July 2017
    June 2017
    May 2017
    April 2017
    March 2017
    February 2017
    January 2017
    November 2016
    October 2016
    September 2016
    August 2016
    July 2016
    June 2016
    May 2016
    April 2016
    March 2016
    February 2016
    January 2016
    November 2015
    October 2015
    September 2015
    July 2015
    June 2015
    May 2015
    March 2015
    February 2015
    December 2014
    October 2014
    September 2014

    Categories

    All
    A Little Bit About Me!
    Baby Bags
    Bag Designs
    Emma Bridgewater Fabrics
    Finding Fabrics
    Here's How I Do It!
    Here's One I Made Earlier
    Repurposing Preloved Fabrics
    Sustainability
    The Henry Moore Foundation
    Tools Of The Trade
    Vintage Inspiration
    William Morris

    RSS Feed