
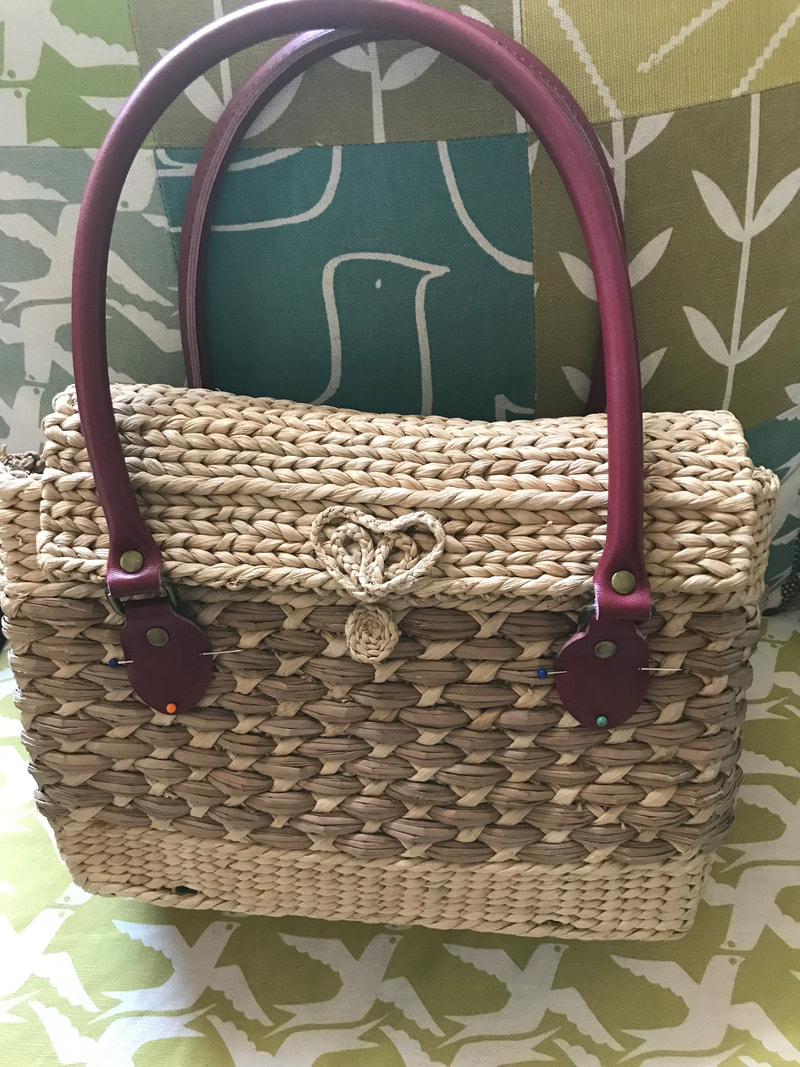
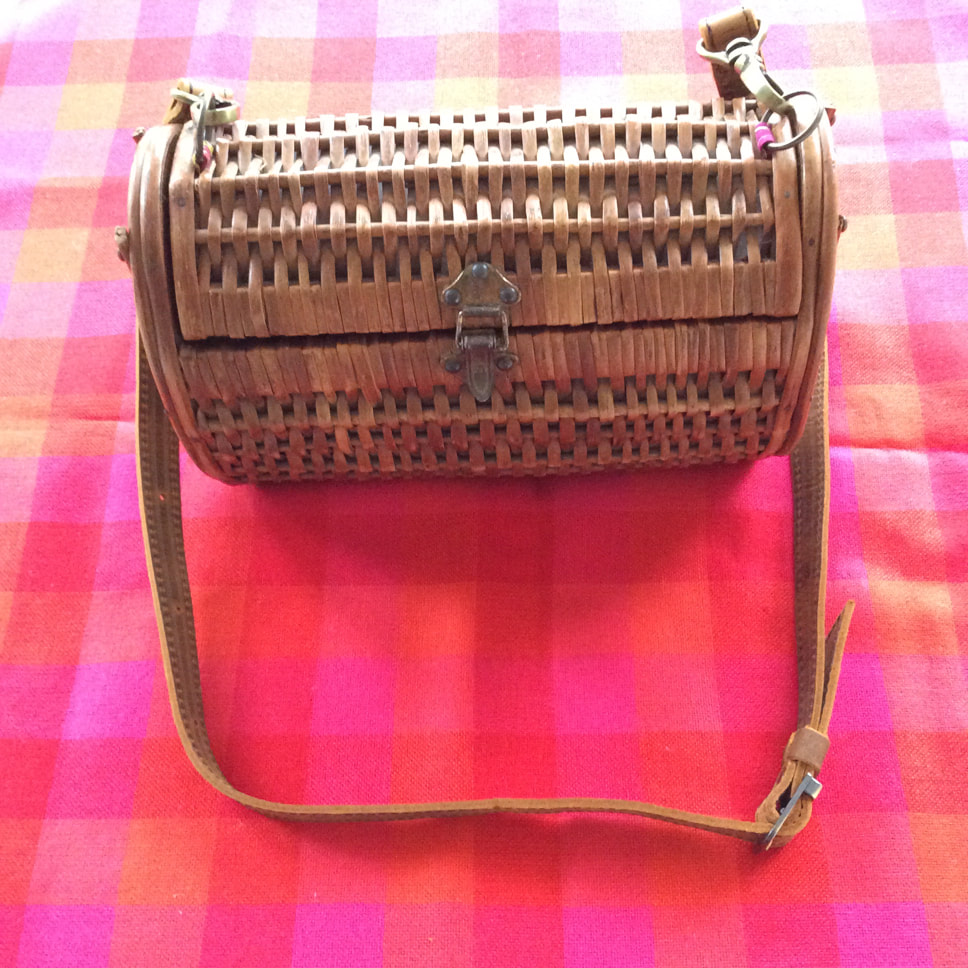
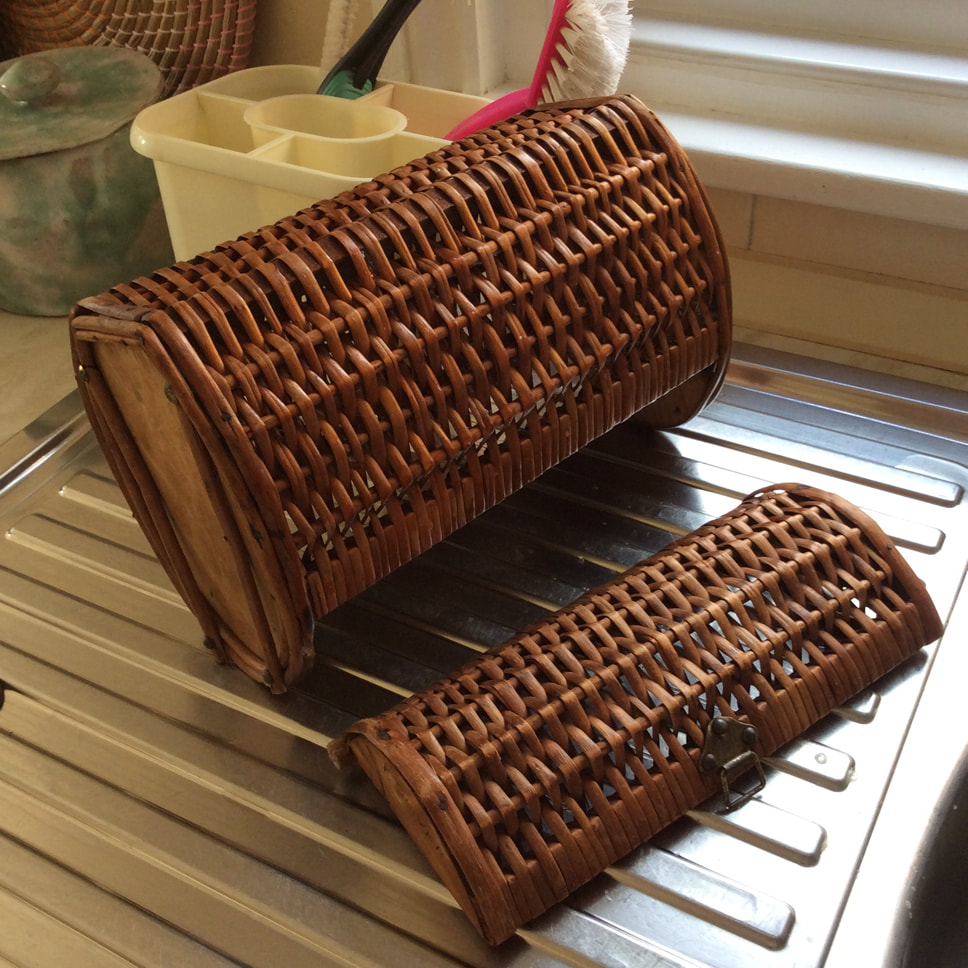
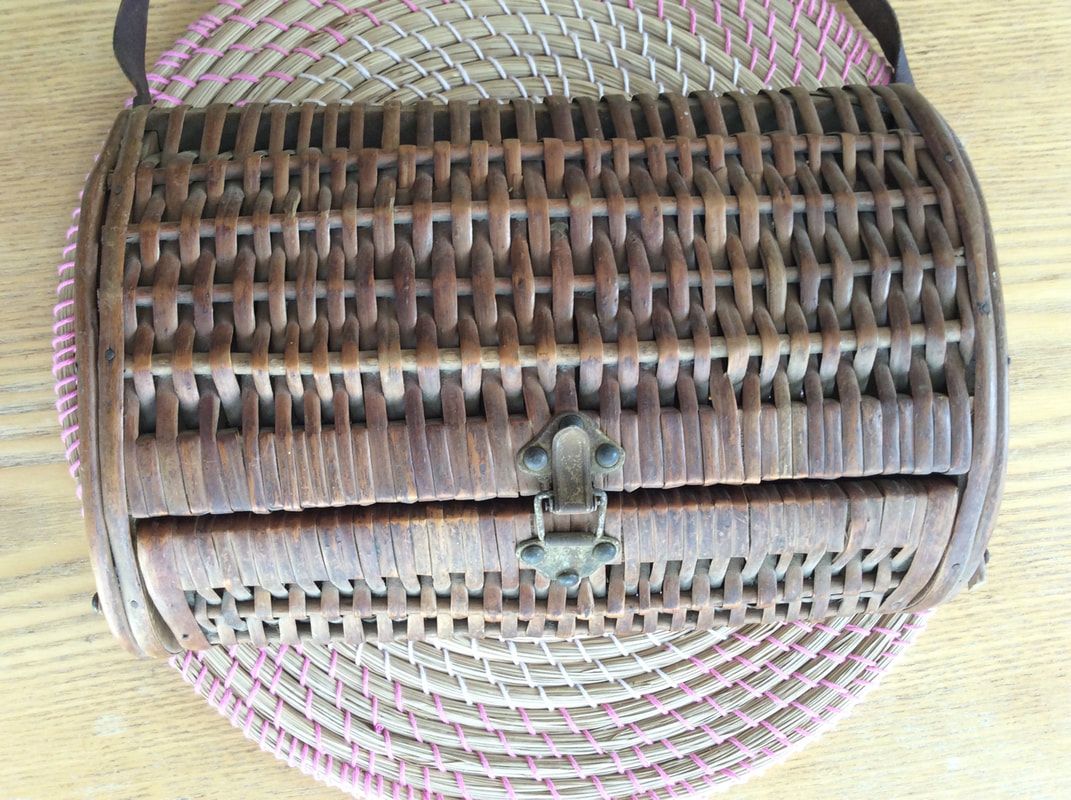
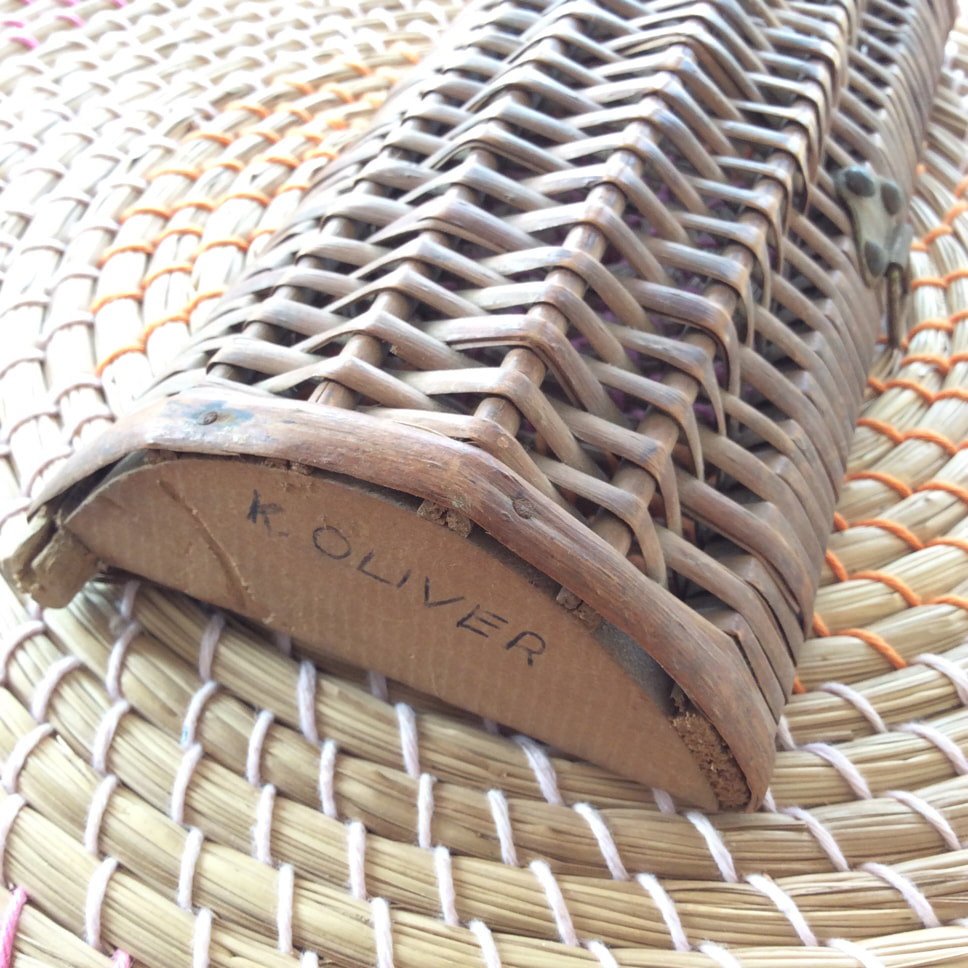
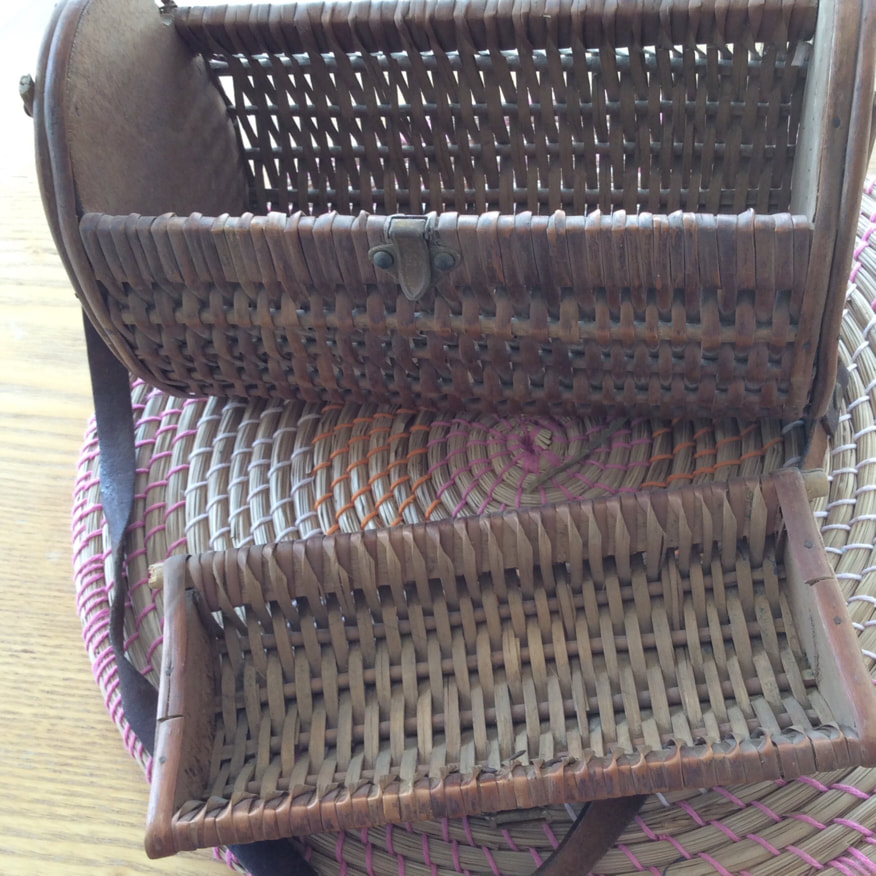
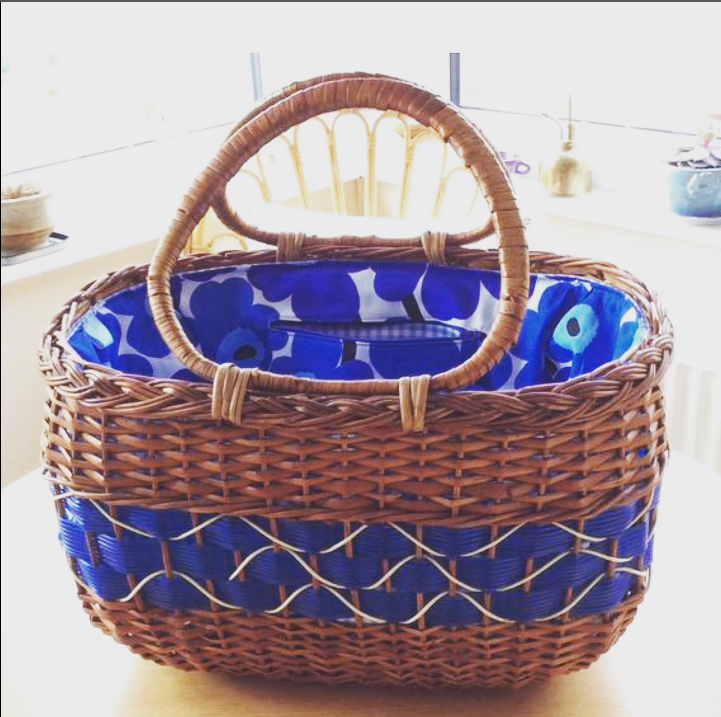
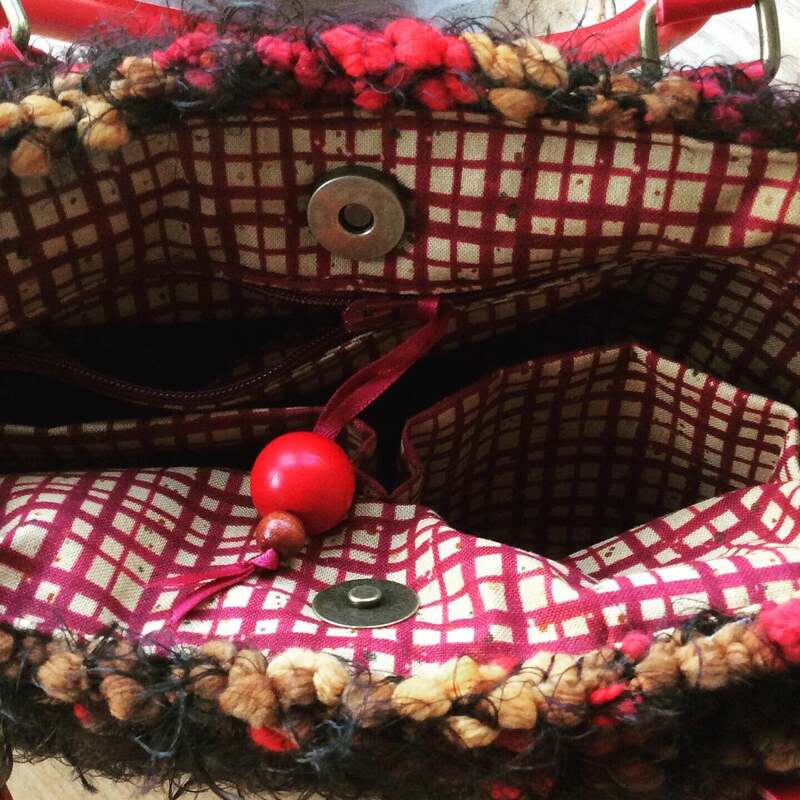
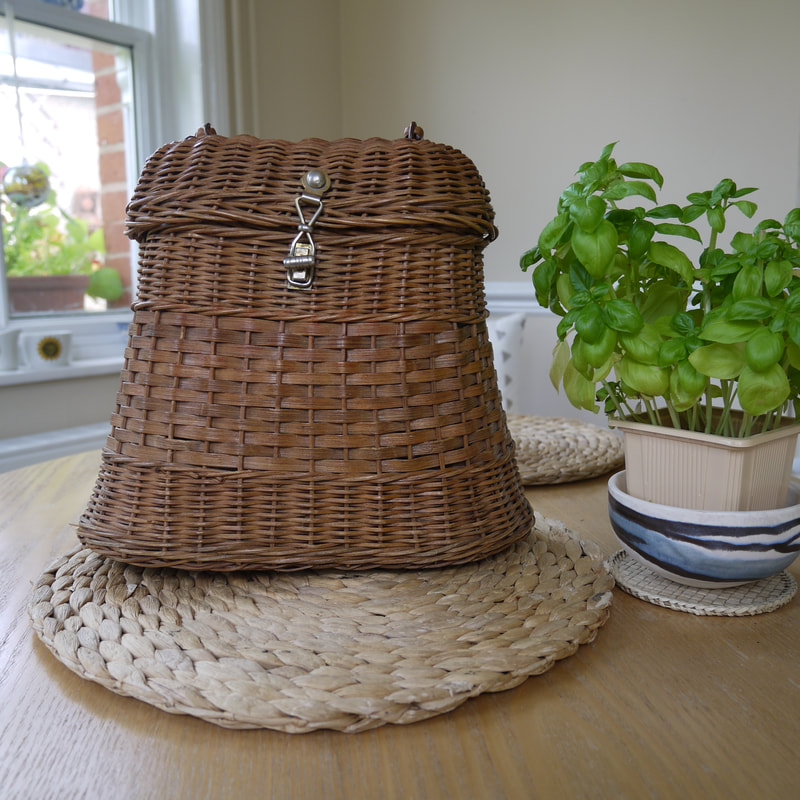
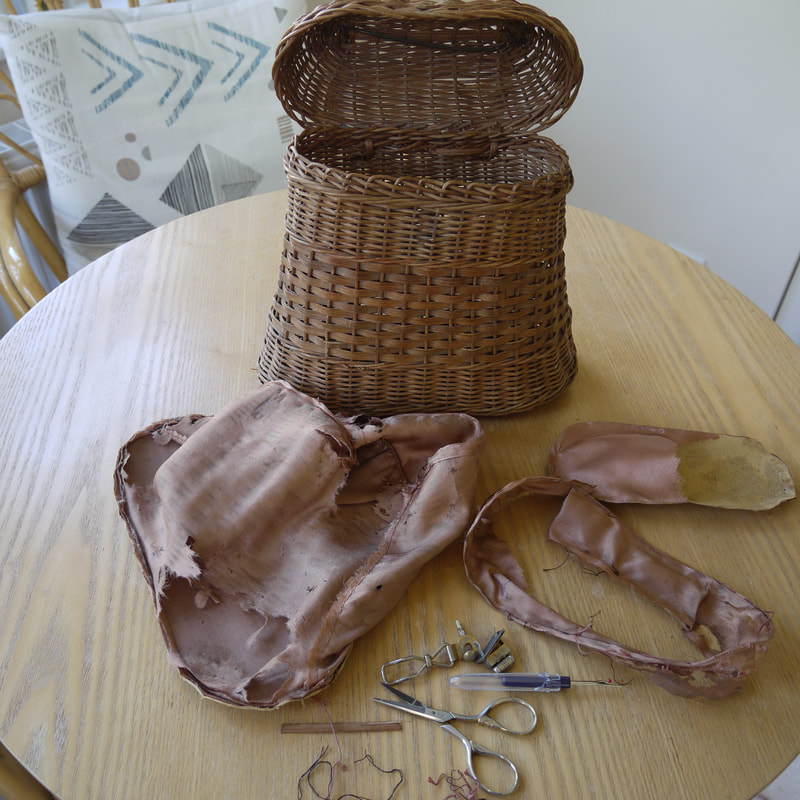
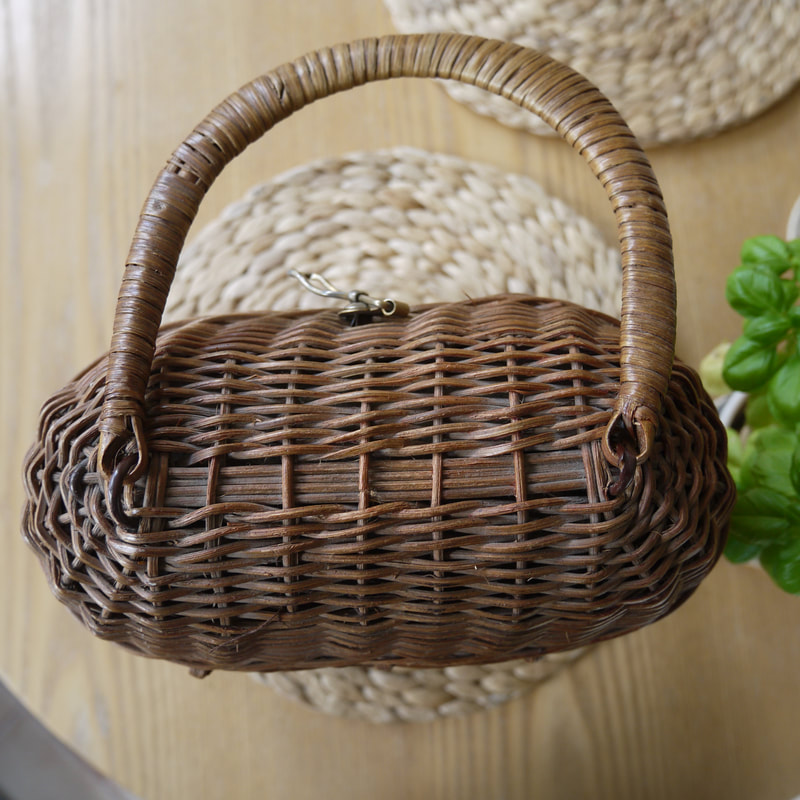
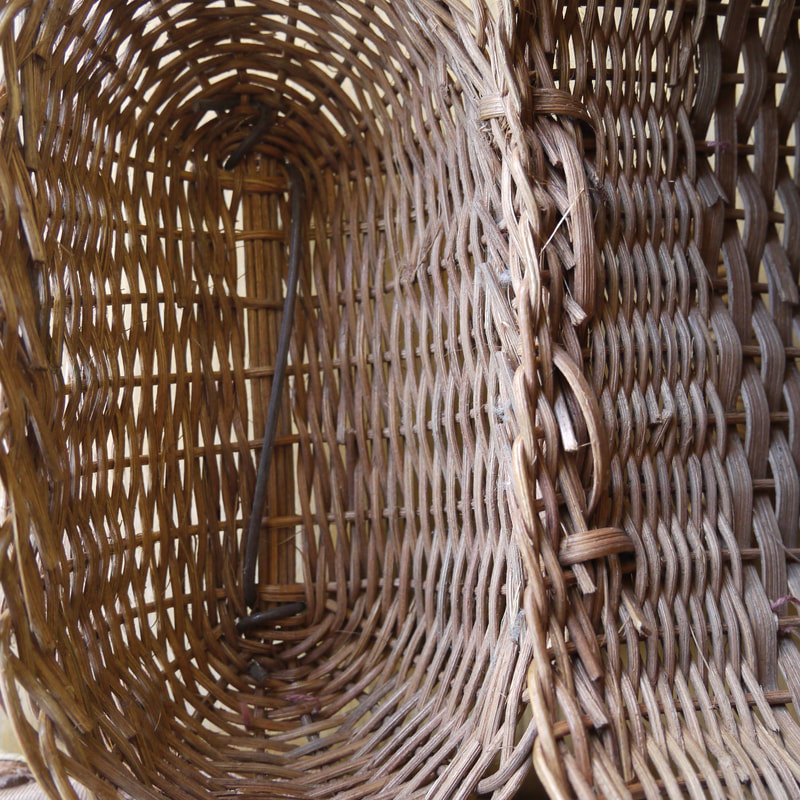
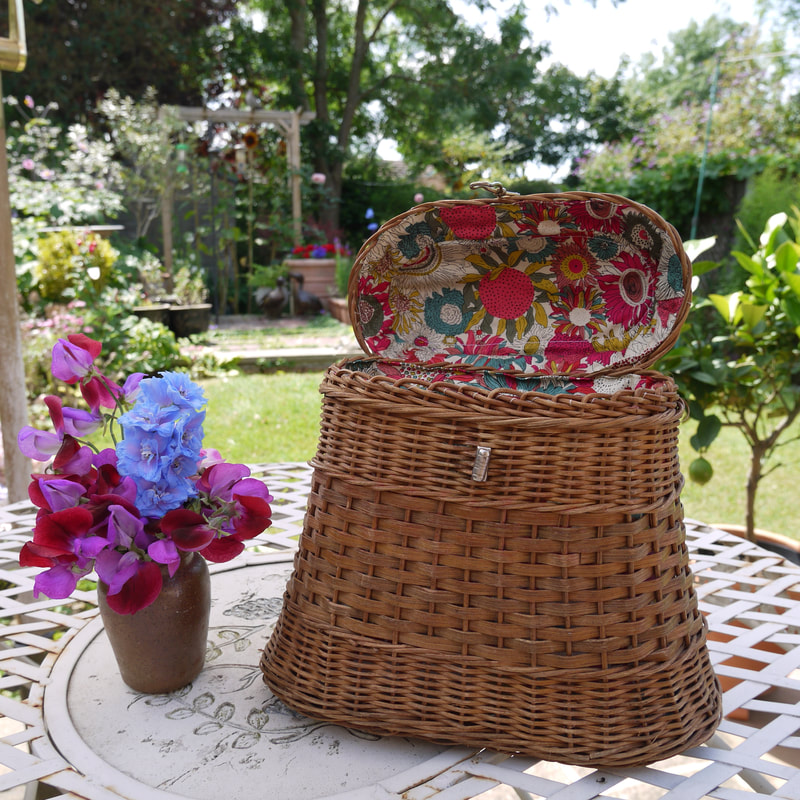
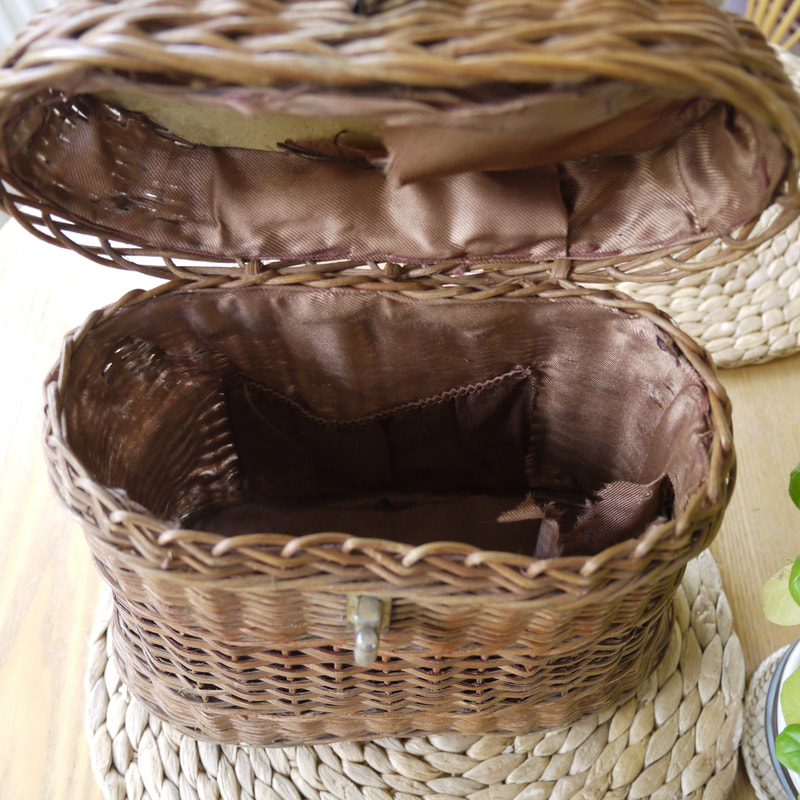
This little wicker bag came to me through the post unnecessarily squashed flat in a cardboard box. The flap wouldn't close properly , there was a gaping open space each side and the base was misshapen. I was livid! The seller didn't seem that bothered and offered a refund, but I could see its potential and decided to keep it. With a bit of research and a steam iron later I was able to restore it to an acceptable shape. The wicker fastening at the front wasn't secure so I glued and sewed the top piece into a heart shape and attached an elastic instead. I've since added a magnetic fastener as well to make it more secure.
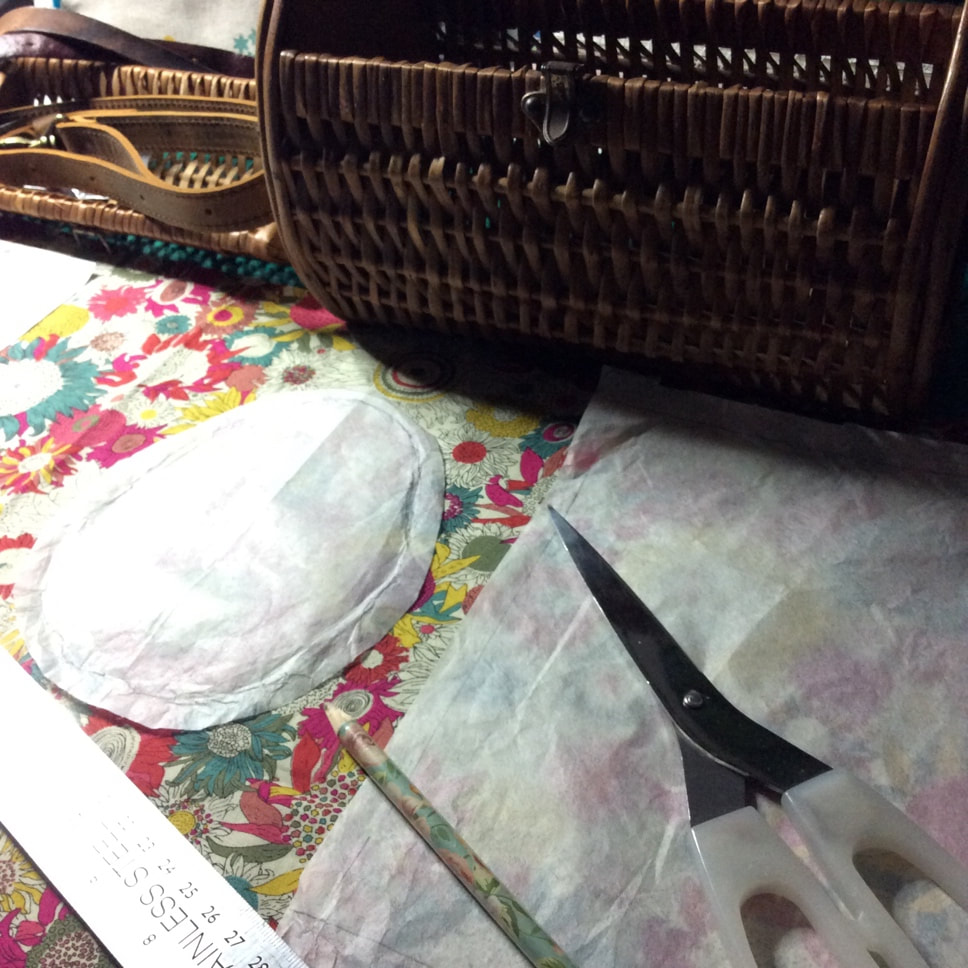
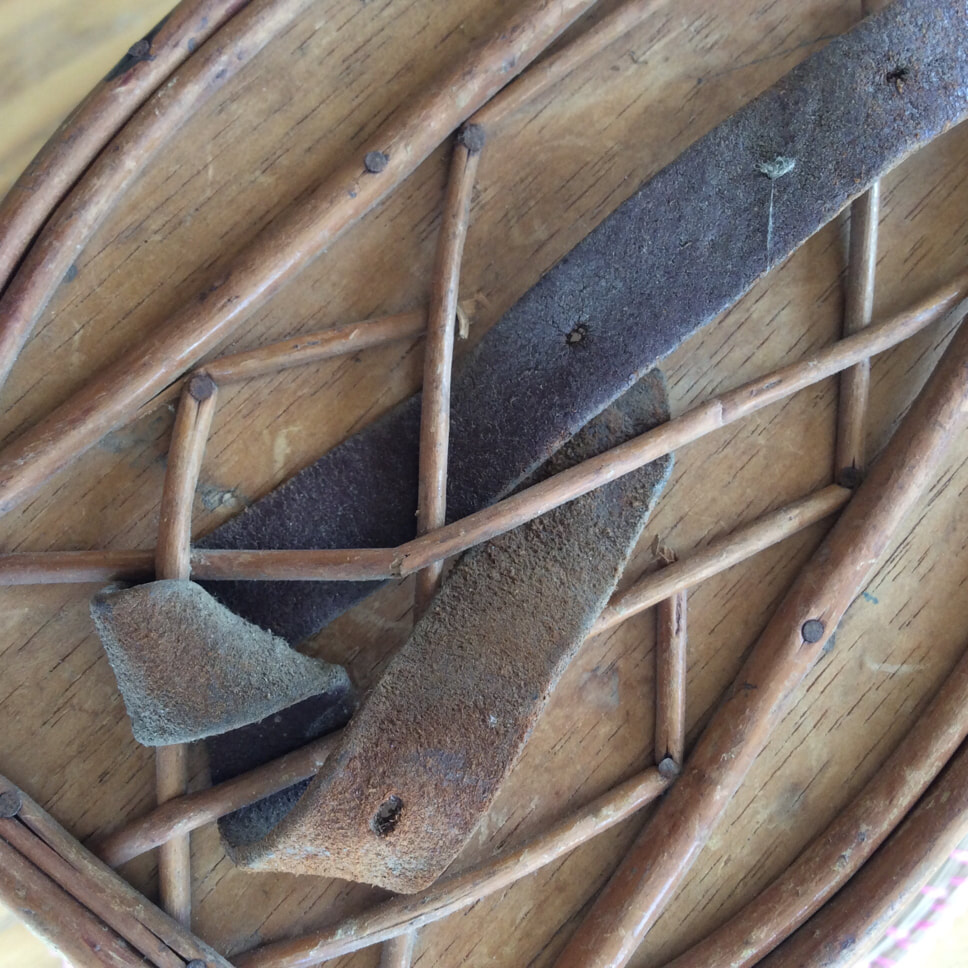
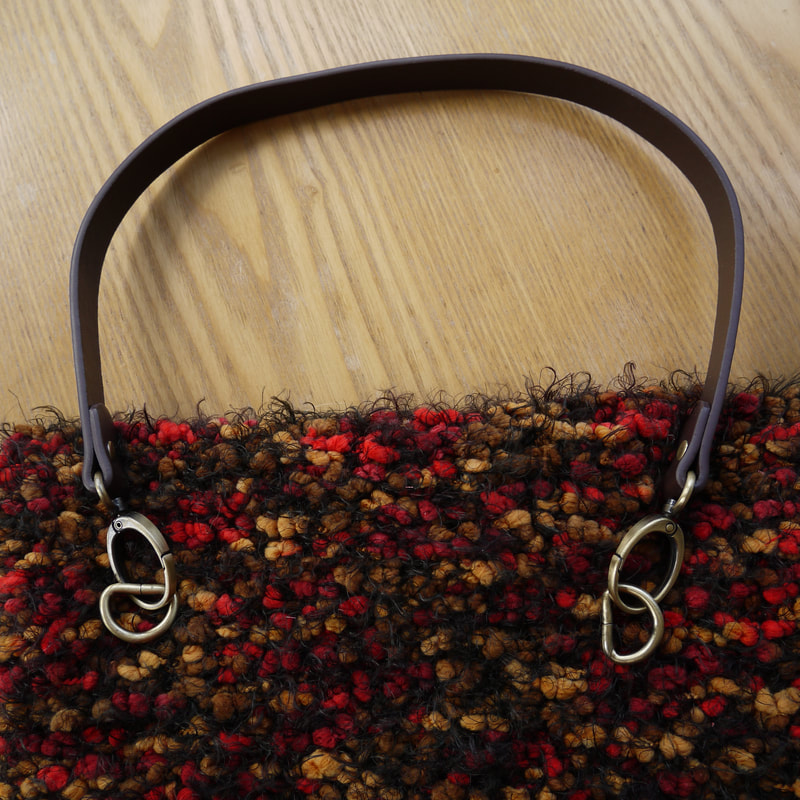
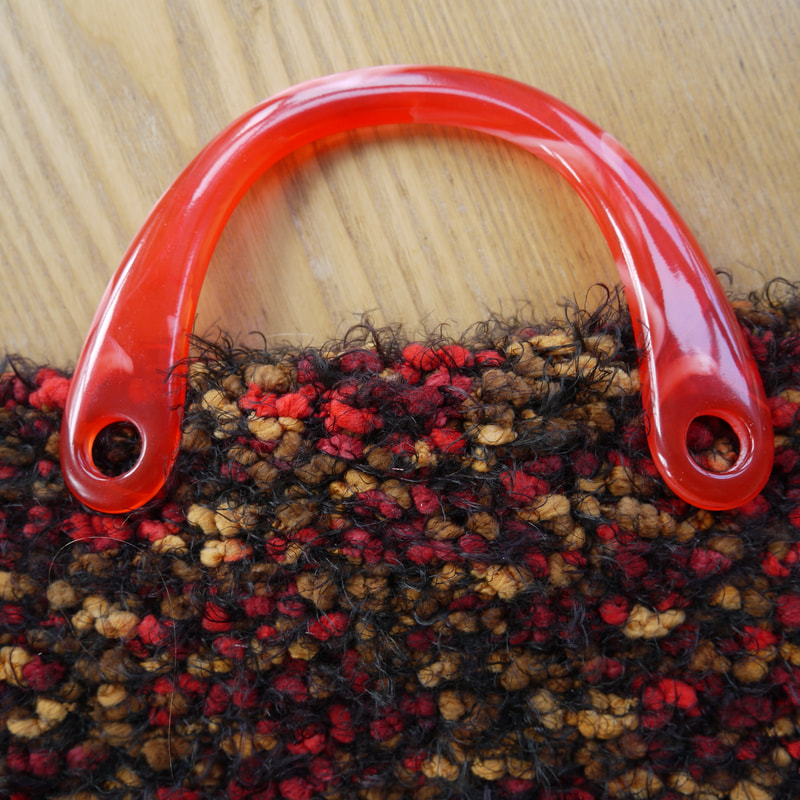
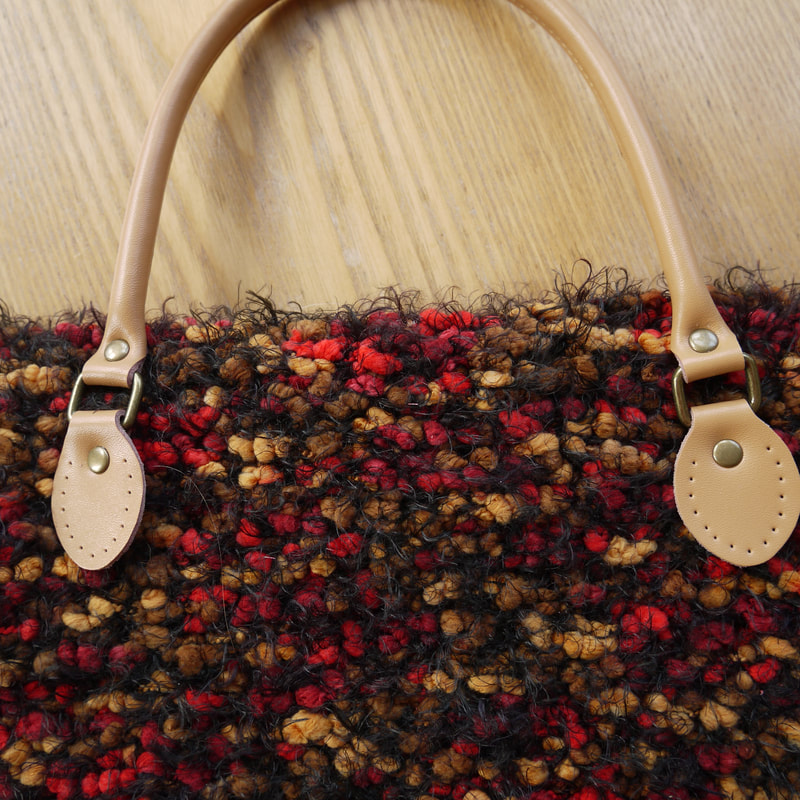
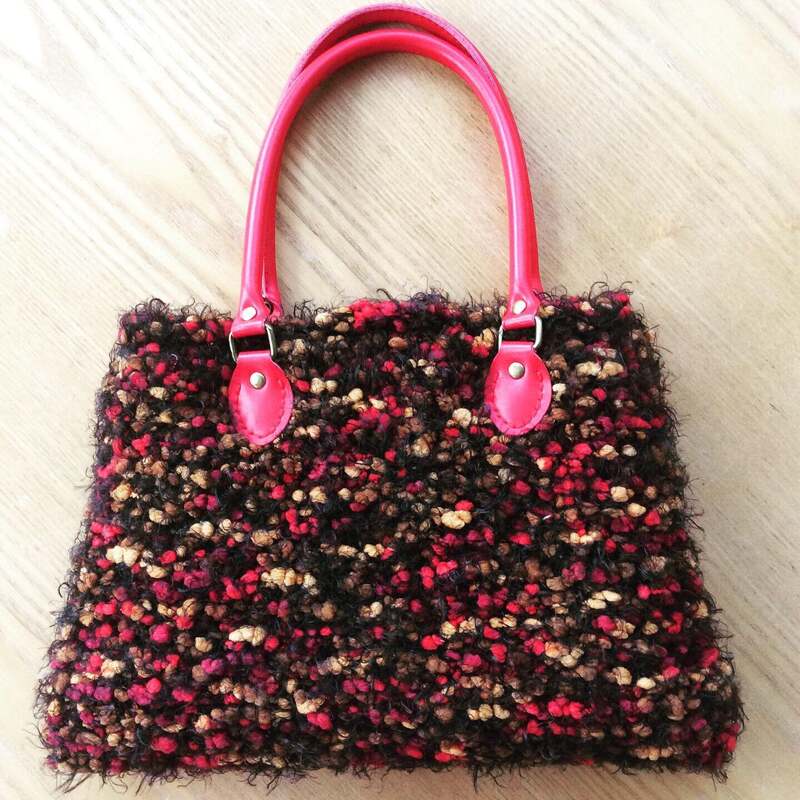
The handles were frayed beyond redemption where they joined the bag and I knew I would have to replace them when I bought it. I removed them carefully and to begin with I thought I was going to use some lovely red leather handles as a complete contrast. They looked good pinned on but sewing them through the wicker was going to be problematic, so I had to have a rethink...
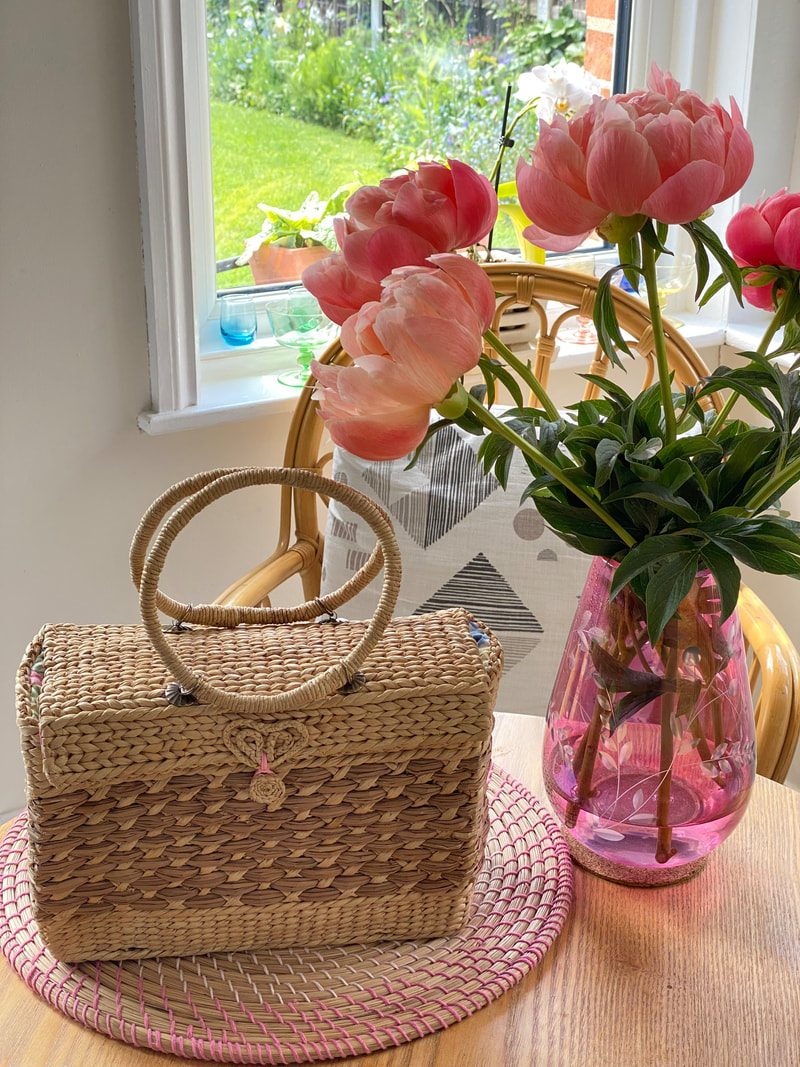
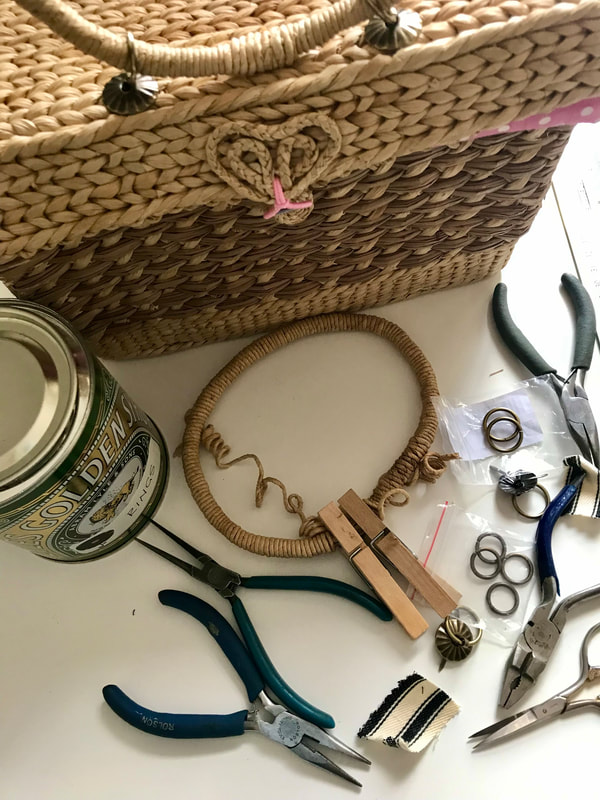
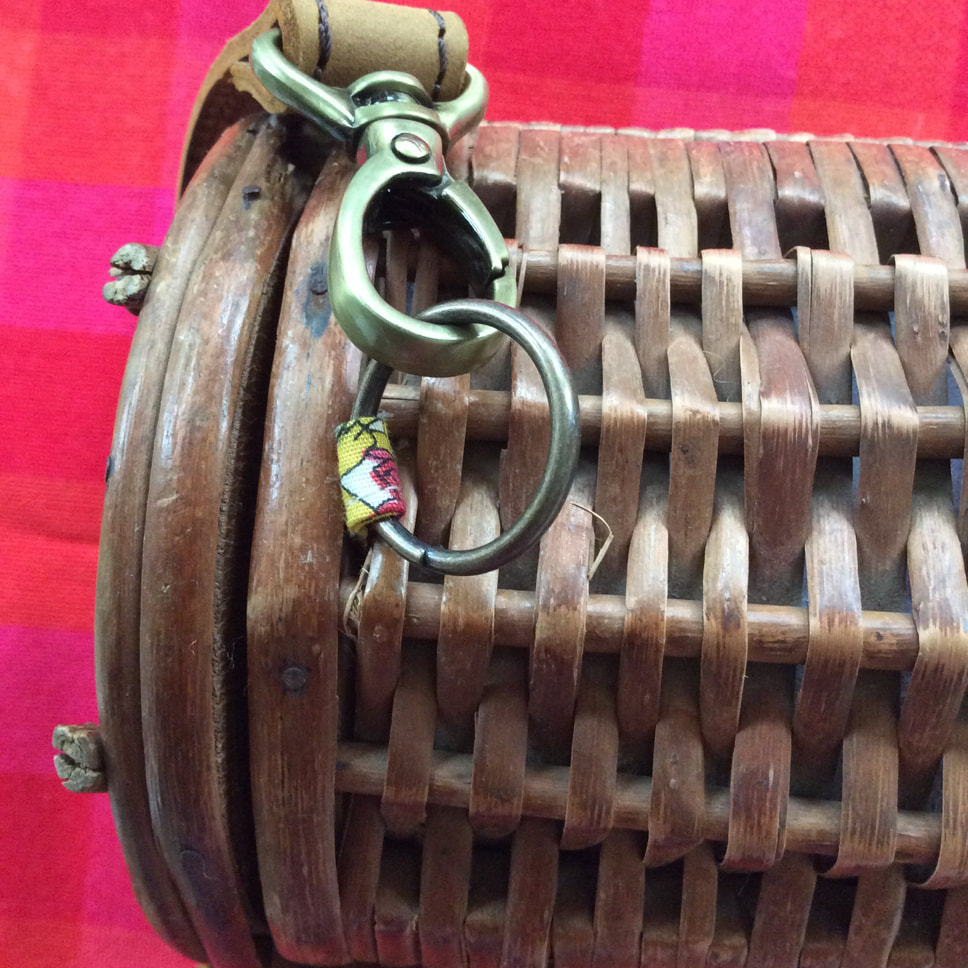
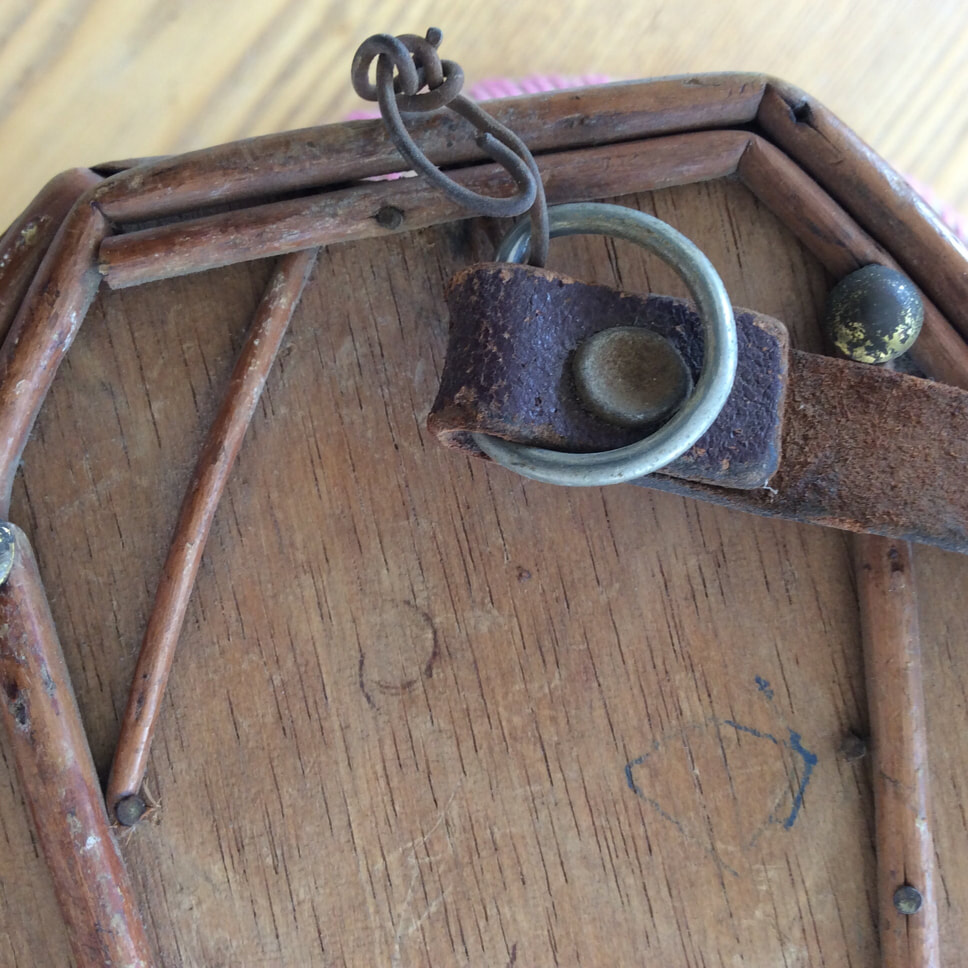
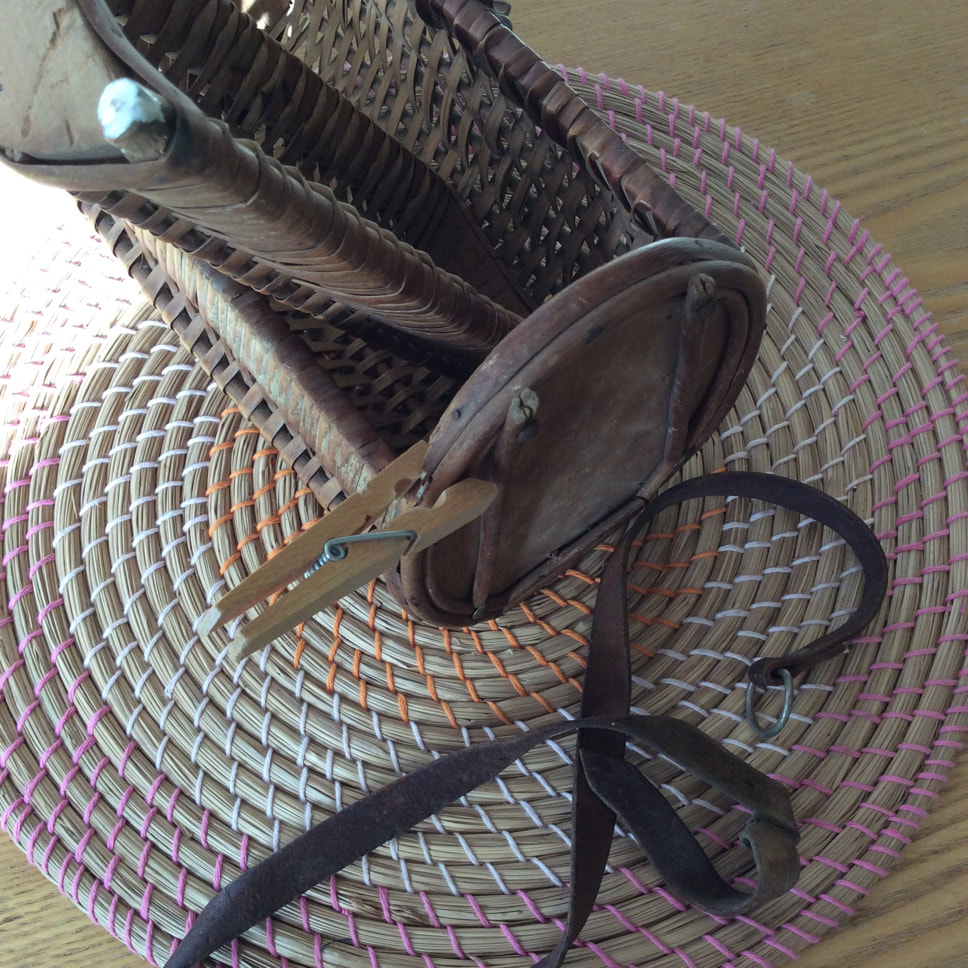
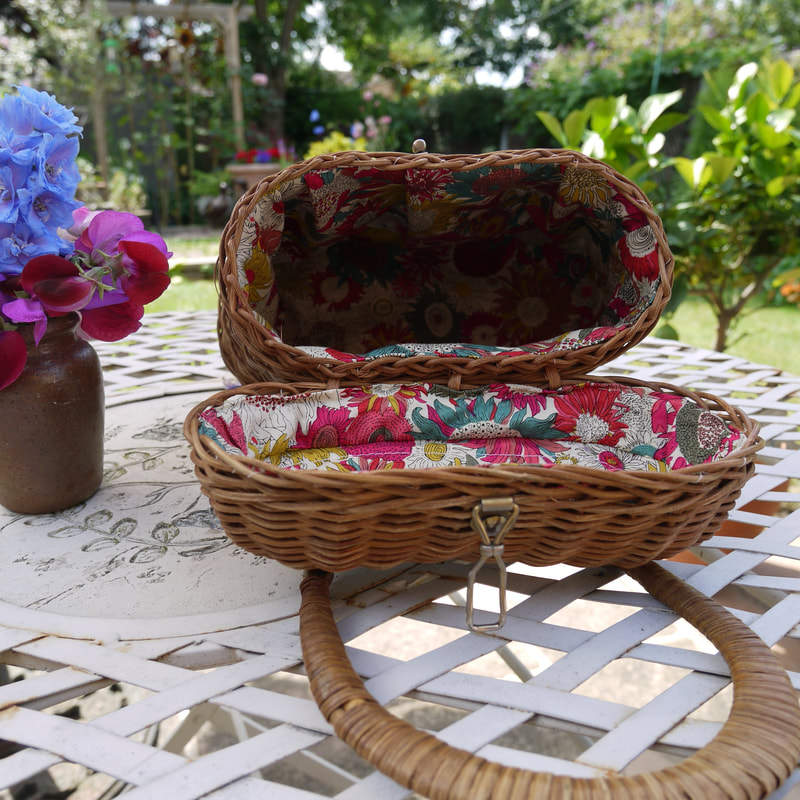
I picked up the old handles and had a brainwave! I managed with bit of trial and error (ok a lot of trial and error), two clothes pegs and a lot of glue to fashion them into some circular handles which I have fastened to the flap with some rings. I'm now quite a dab hand with a couple of pairs of pliers to prise rings open and closed!
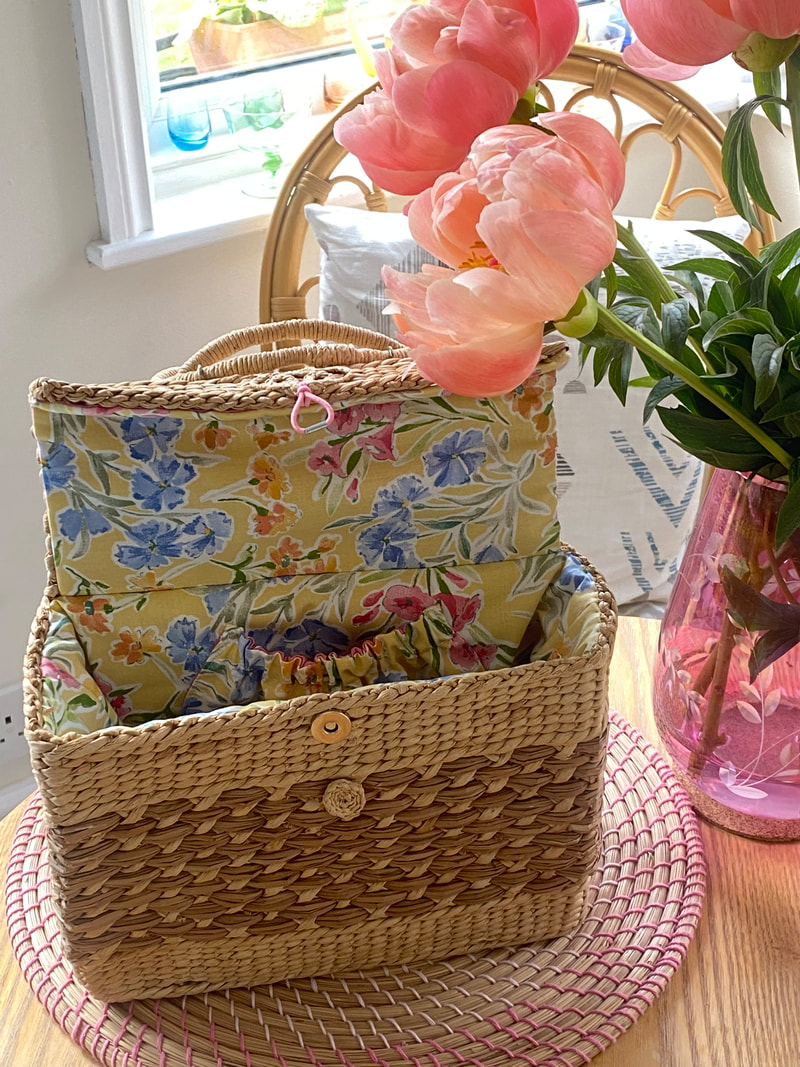
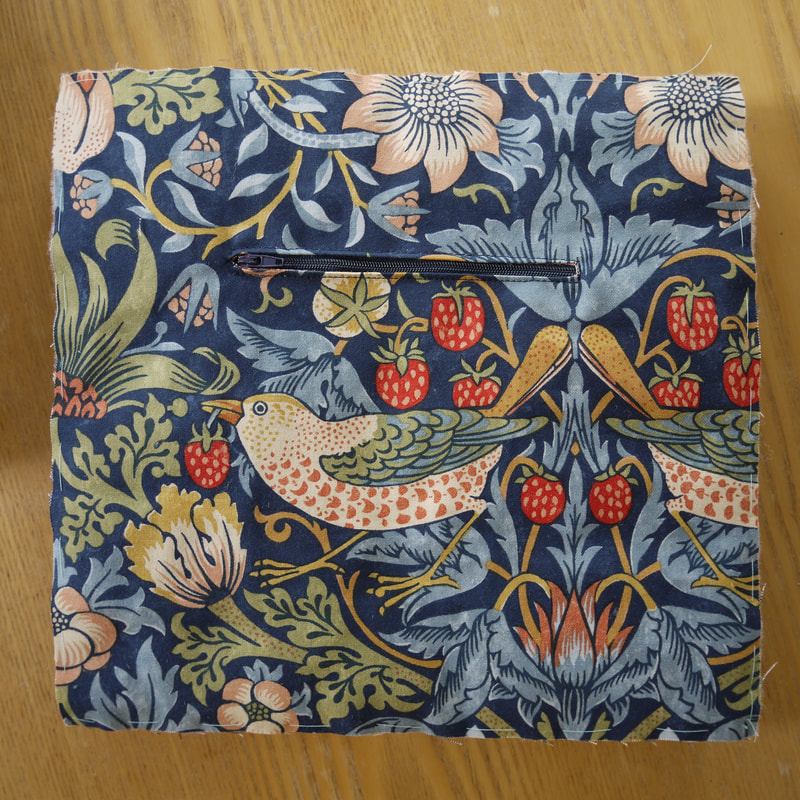
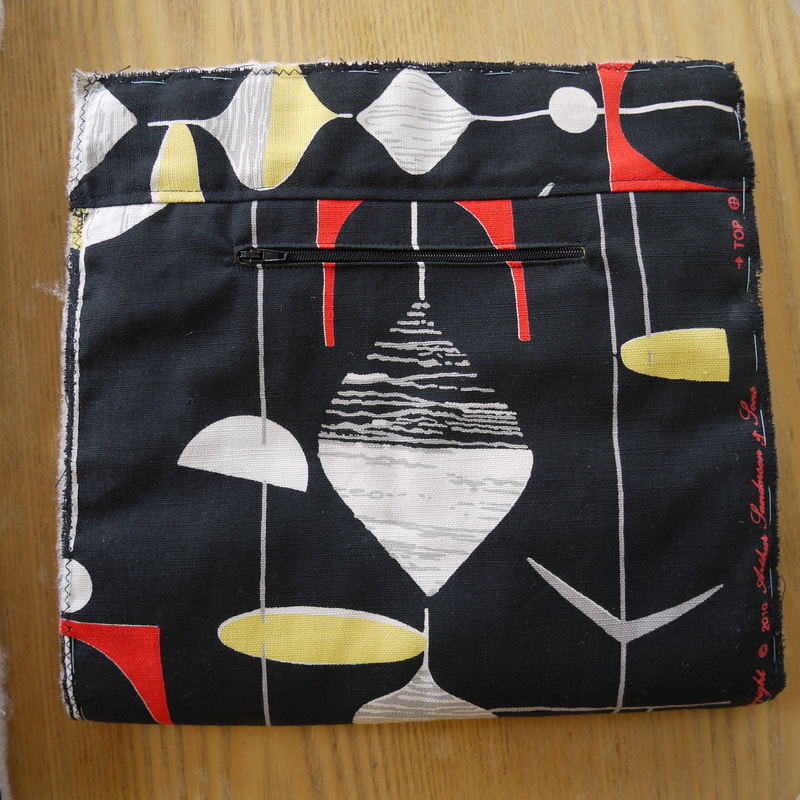
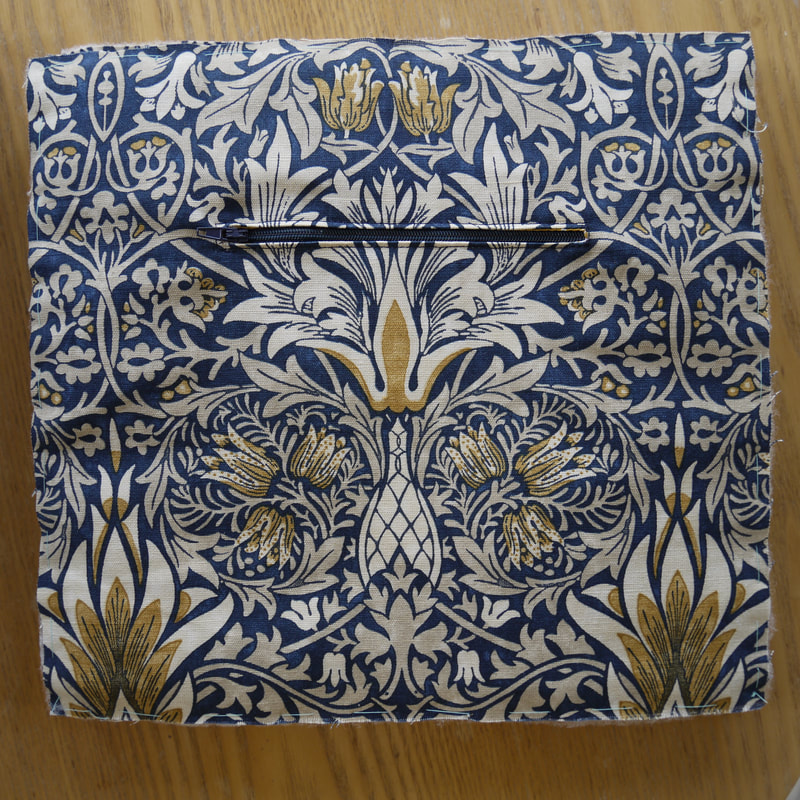
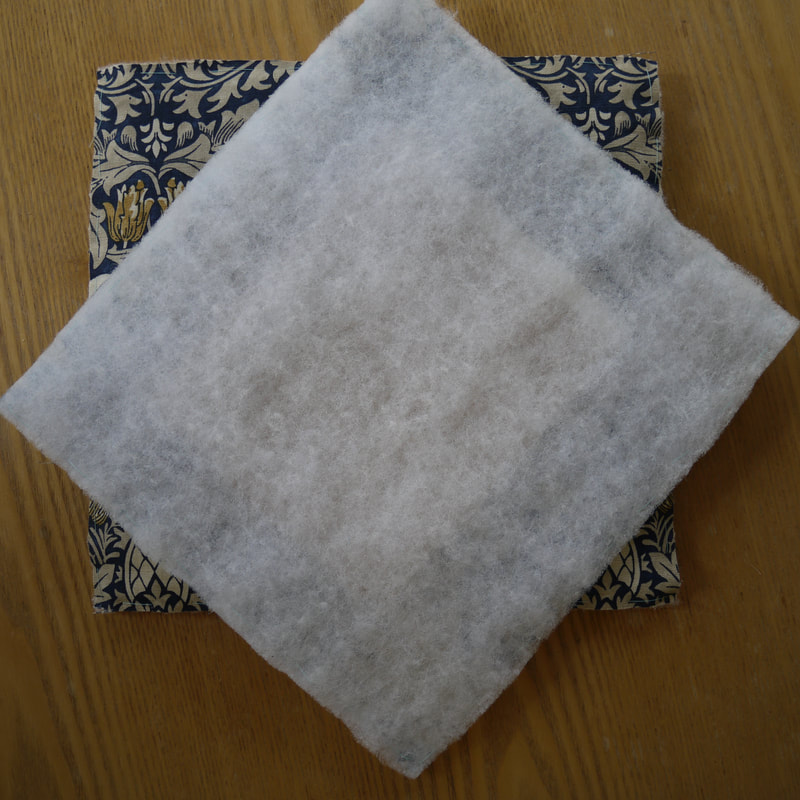
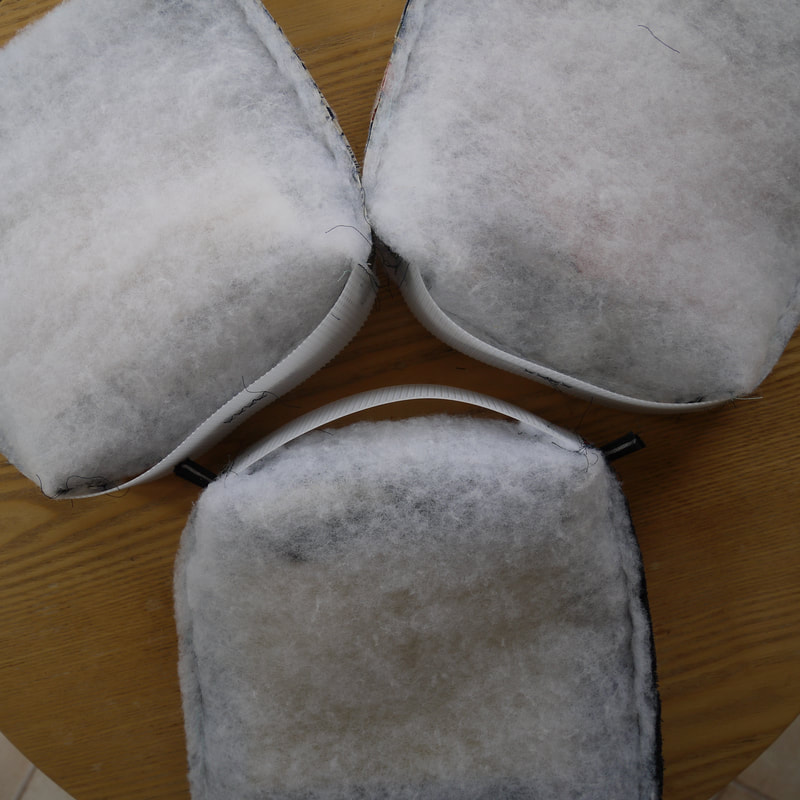
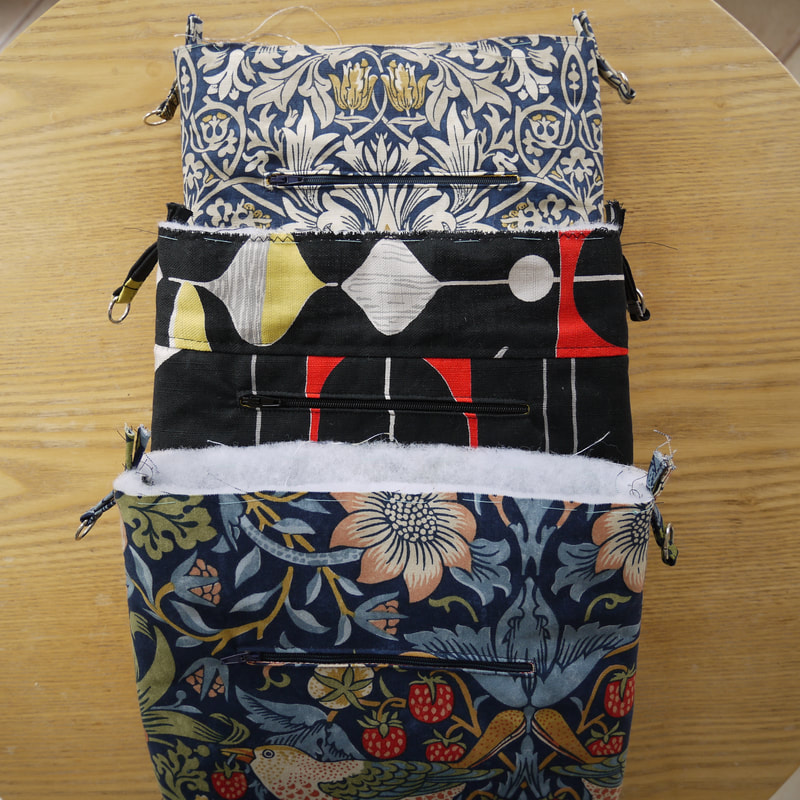
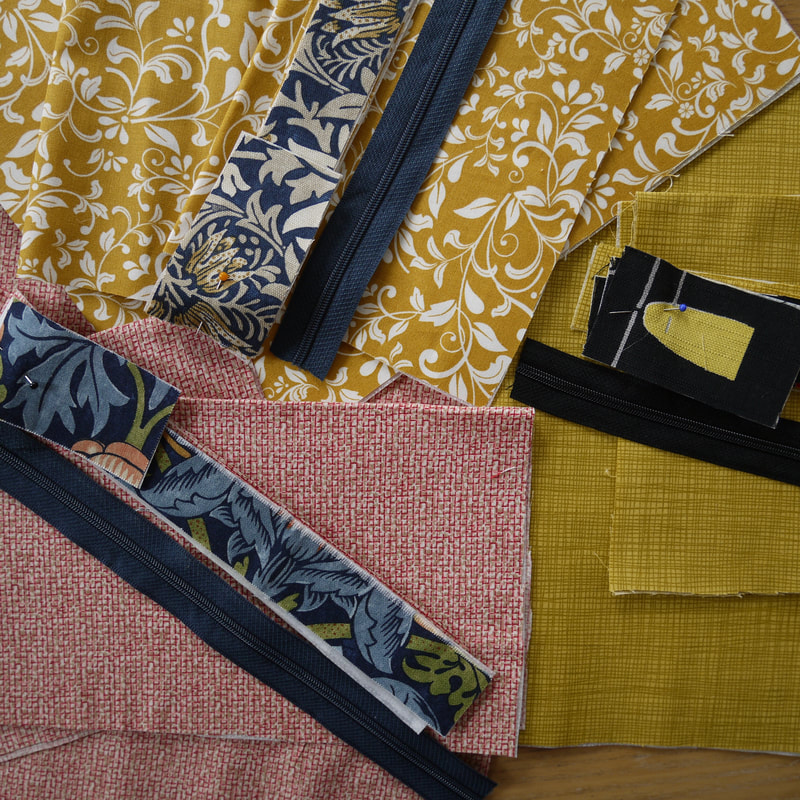
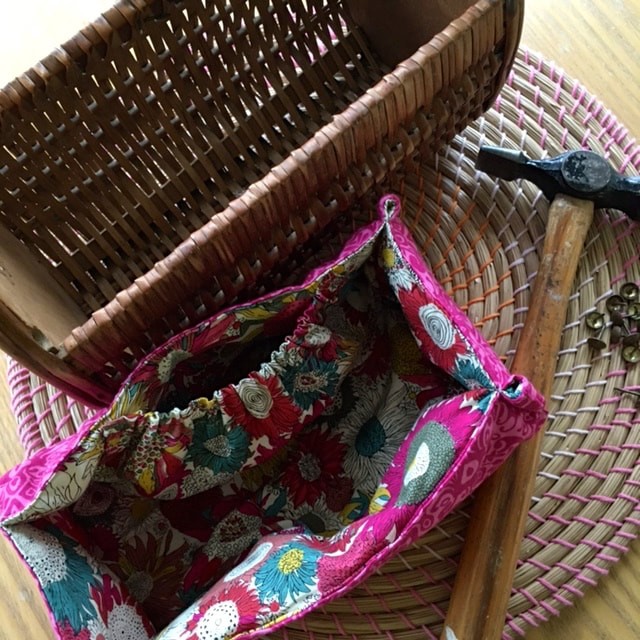
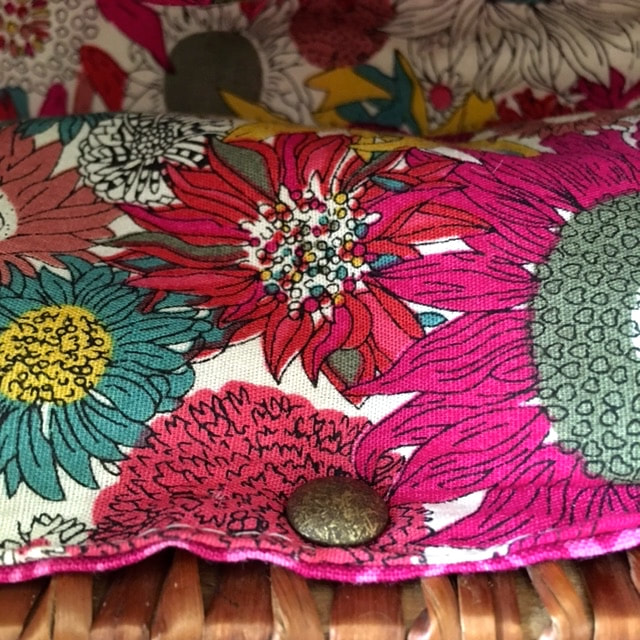
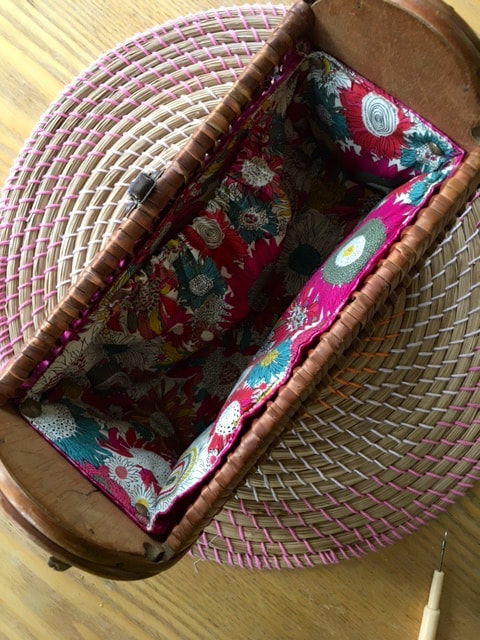
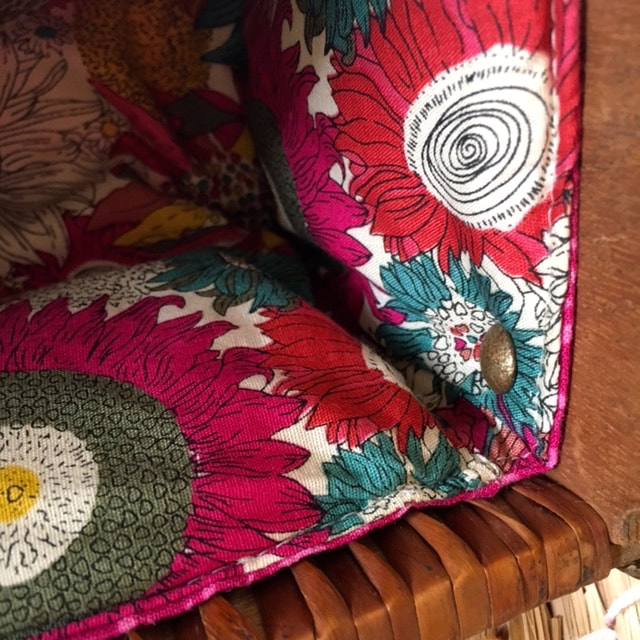
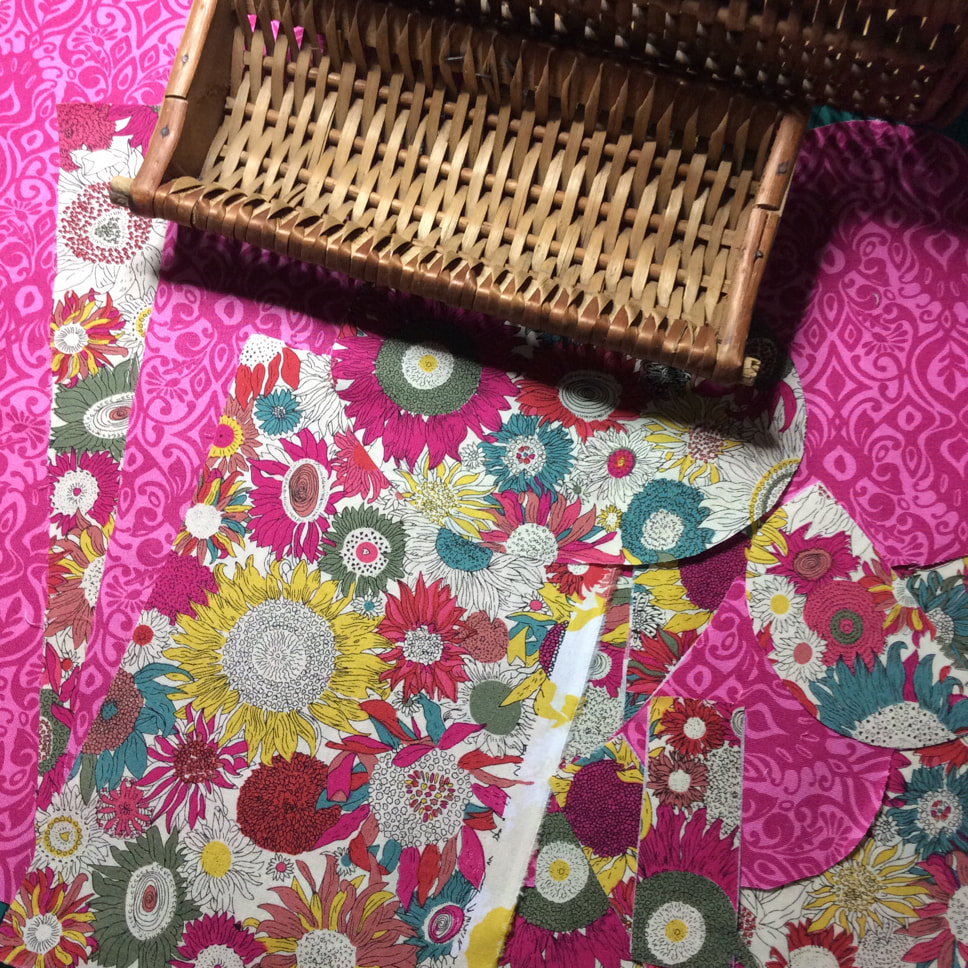
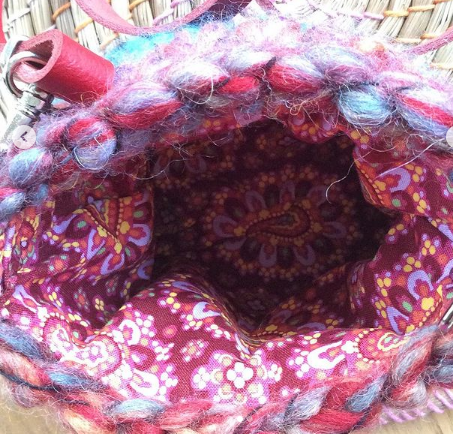
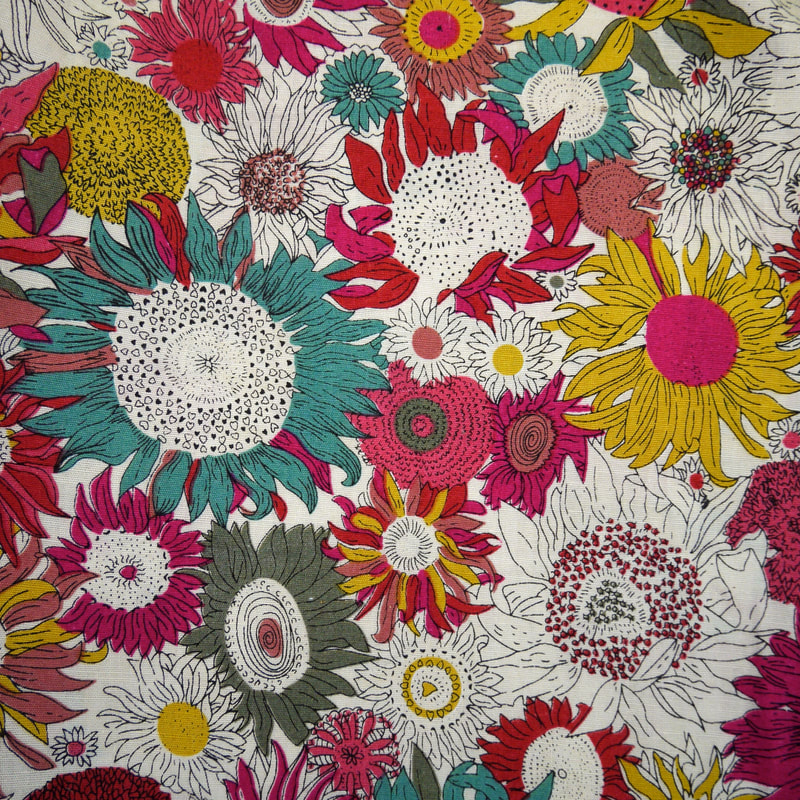
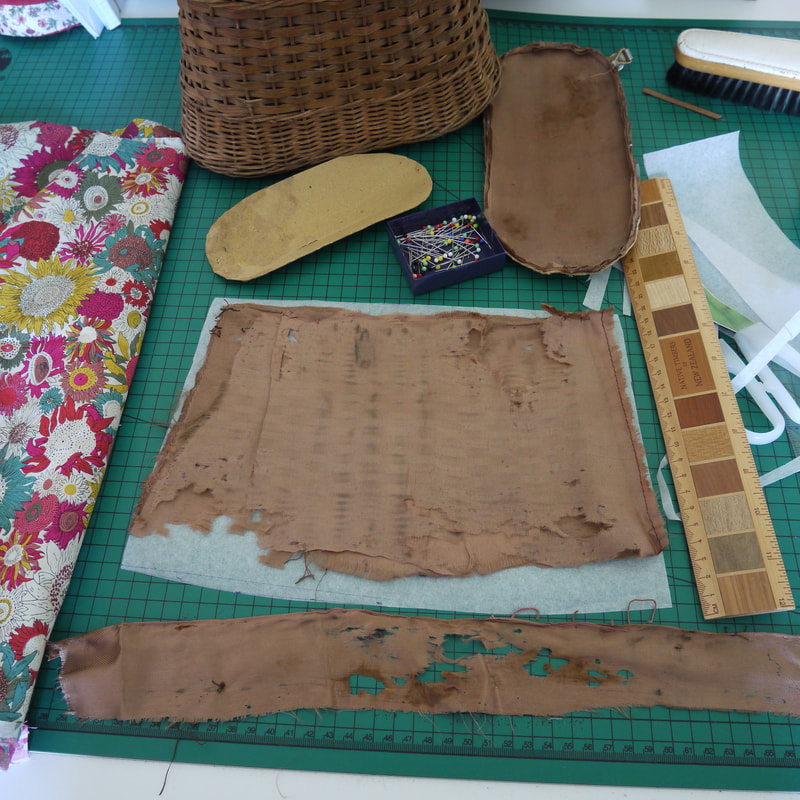
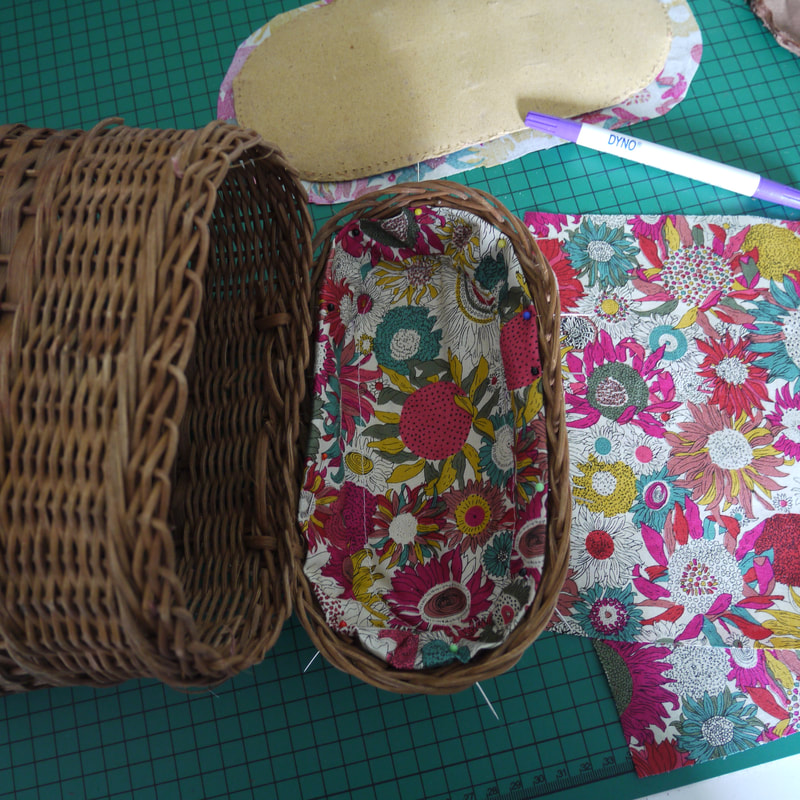
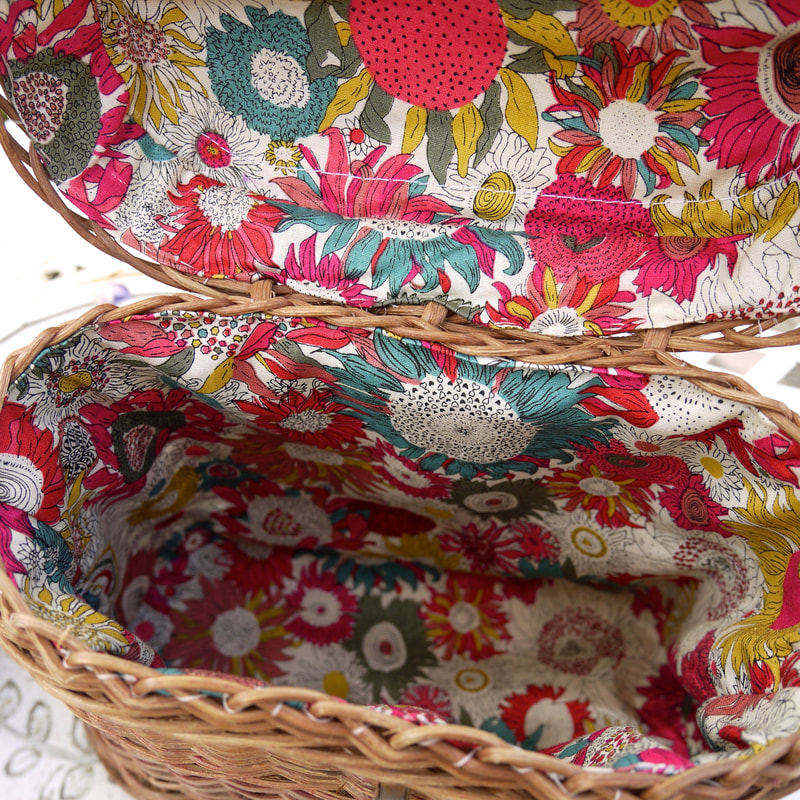
Now to the lining. I had just enough of this pretty vintage Laura Ashley fabric and with a thin layer of wadding and a cute elasticated pocket it finishes it off to perfection even if I say so myself!
The handles were frayed beyond redemption where they joined the bag and I knew I would have to replace them when I bought it. I removed them carefully and to begin with I thought I was going to use some lovely red leather handles as a complete contrast. They looked good pinned on but sewing them through the wicker was going to be problematic, so I had to have a rethink...
I picked up the old handles and had a brainwave! I managed with bit of trial and error (ok a lot of trial and error), two clothes pegs and a lot of glue to fashion them into some circular handles which I have fastened to the flap with some rings. I'm now quite a dab hand with a couple of pairs of pliers to prise rings open and closed!
Now to the lining. I had just enough of this pretty vintage Laura Ashley fabric and with a thin layer of wadding and a cute elasticated pocket it finishes it off to perfection even if I say so myself!
   |    |


 RSS Feed